Summer is officially here!! Grilling is an essential cooking method on those long, hot days, and people are always looking for something new. I am back with Canadian Turkey to showcase this grilled spatchcock turkey! Never heard of this method? You are in for an (easy) surprise! #BBQTurkey #CanadianTurkey
This is a sponsored post. I was fortunate enough to receive monetary compensation and/or products from Canadian Turkey. Though compensation was received, all opinions are my own and I would not recommend a product that I did not enjoy.
After a cold and rainy weekend, I am happy to be posting about a new cooking method! Well, new to my site that is 🙂
We have been working hard to complete our new deck. Since the pool is semi in-ground (on-ground pool as many say,) the deck is technically called an on-ground deck. Which is way easier than stone work! But still work 😉 Somehow, in-between all the hole digging, leveling, and everything else deck-related, I sneaked in this grilled spatchcock turkey in partnership with Canadian Turkey!
I hope that makes you realize how easy this cooking method is! And delicious on top of that! Easy and delicious?! Count everyone in!
What is the definition of spatchcock?
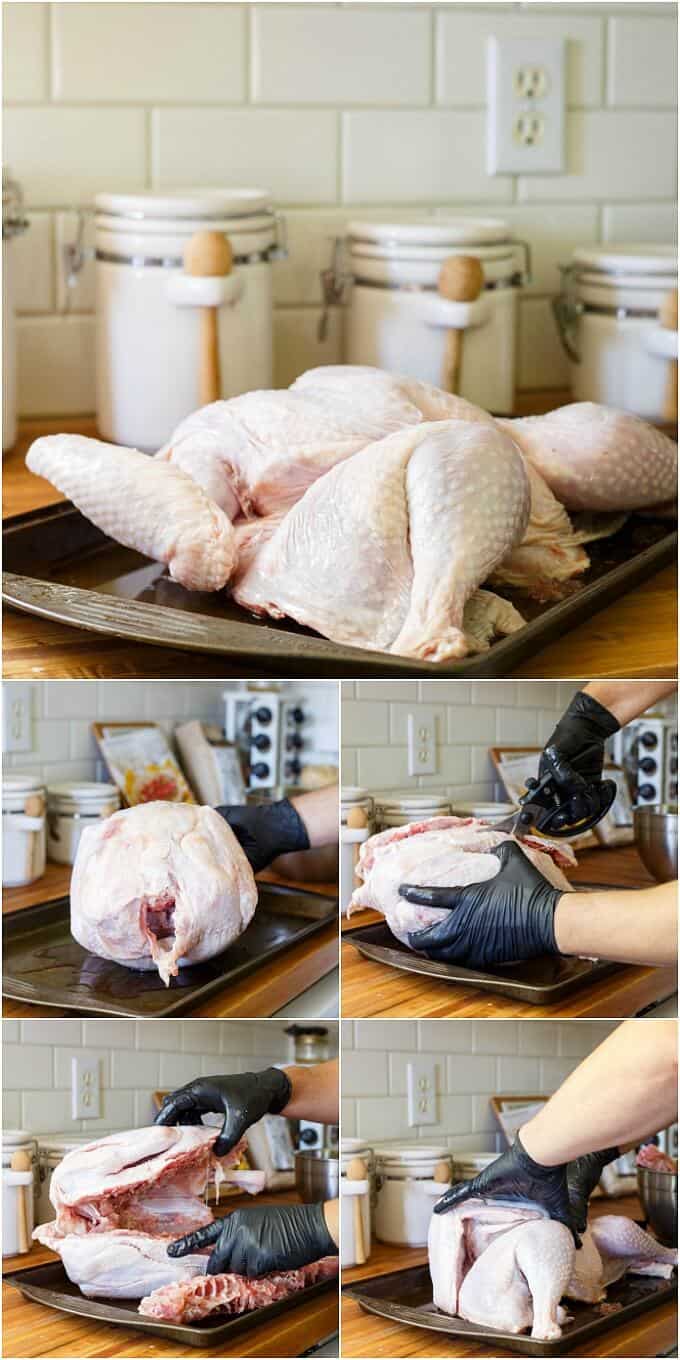
Basically you are opening/splitting a bird (chickens, turkey, game birds, etc.) to grill evenly (no more moist dark meat paired with dry white meat.) Canadian Turkey talks about it in depth here.
It really does make a difference. Once that backbone is removed, the breast piece is pushed down so it lays flatter with the wings and legs. While cooking on the grill, you have the breast piece over indirect heat, and the legs and wings over direct heat. Dark meat takes longer to cook, so having it over direct heat allows for faster cooking while the white meat slowly cooks. No more inconsistent internal temperatures!
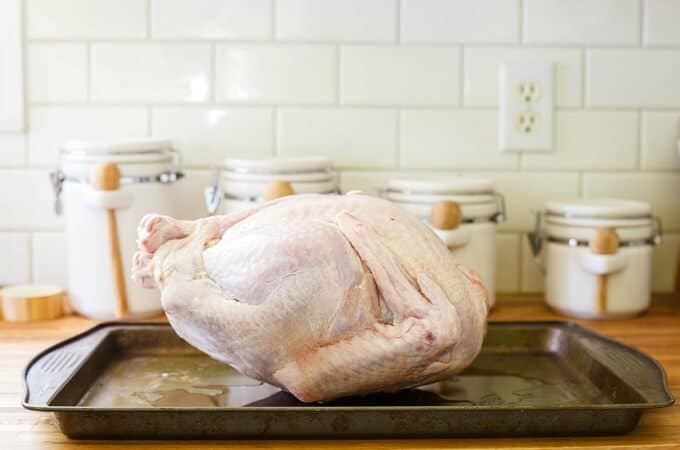
Once prep work is out of the way, the grilling part is EASY. Even the prep work is easy, but you may need some strong hands (thank you, #1 husband!) Our turkey was still a bit frozen so that made the job a tad harder. You can also ask your butcher to remove the backbone if you feel uncomfortable (but with the right poultry shears, this job isn't difficult!)
I did brine my turkey (like I usually do!) and recommend it any time you are grilling. It helps lock in that moisture! Especially since this bird is going to be sitting on the grill for some time. But the best part? Once the turkey is on the grill, that is it! No babysitting required!!
To showcase how efficient this cooking method is, picture me working on a deck while the turkey is drying in the fridge (I always allow my turkey to sit, uncovered, in the refrigerator overnight after removing it from the brine.) I come in and have the turkey sit out of the fridge for 20-30 minutes at room temperature (better for even grilling!) Go back to work. Prepare grill by having the middle of my three burners turned off, but the two side ones turned to medium-high heat. You want a drip pan under the grill so you have no flare-ups (I just used pans from the dollar store.)
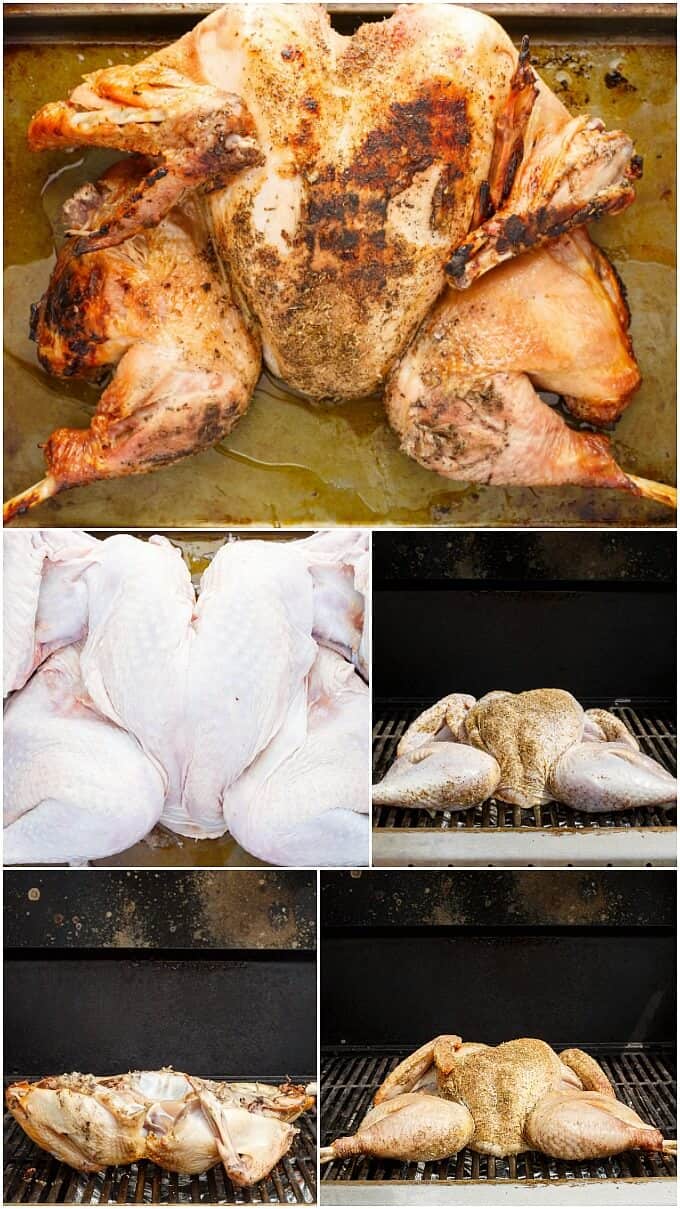
Once the grill is around 375F-400F consistently, it is time to move your turkey onto the grill! Yes, directly onto the grill! Oil your grill to help reduce sticking (my grill is old and loves to stick!) Place the turkey, breast side up, in the middle of the grill, and have the legs and wings spread out over the direct heat. Reduce heat to medium. Cover and leave alone for 50 minutes (depending on bird size) or about halfway through cooking. Try to keep your temperature around 375F-400F.
During that time, I kept checking the BBQ but quickly realized that my heat was staying consistent and there were no flare-ups! So I went back to digging holes (yay?)
Once halfway cooked, flip the bird and continue cooking until breast reaches 150-55F (another 50-60 minutes.) At this point, move the bird over direct heat to nicely brown the skin, which should take the bird up to 165F. You can always move it over a bit earlier for a darker skin. I struggled flipping my turkey so I tore the skin a bit.
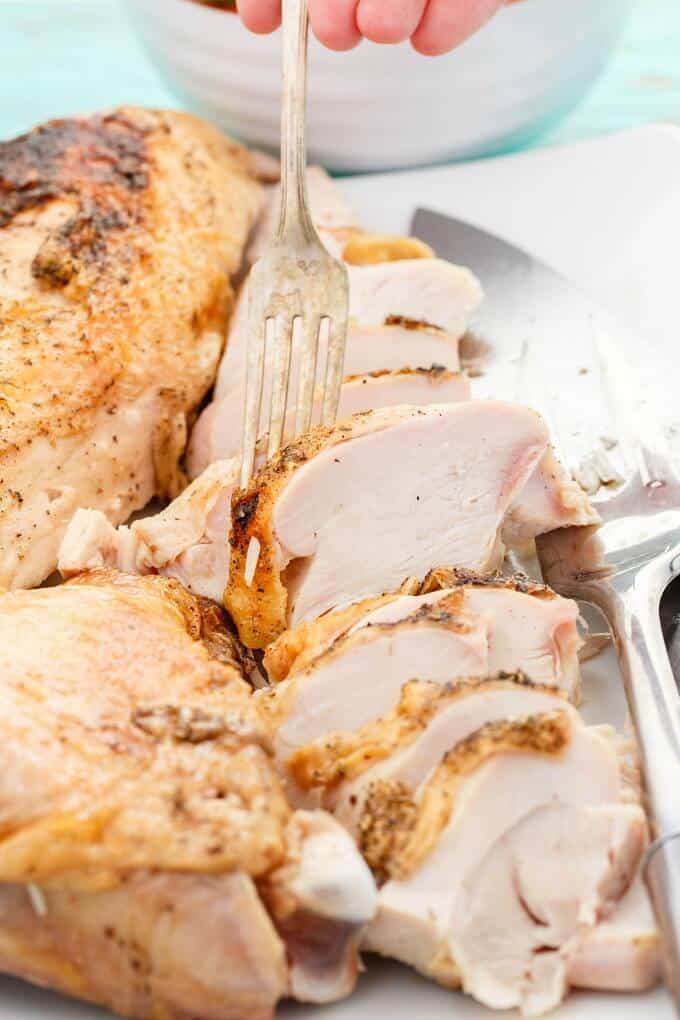
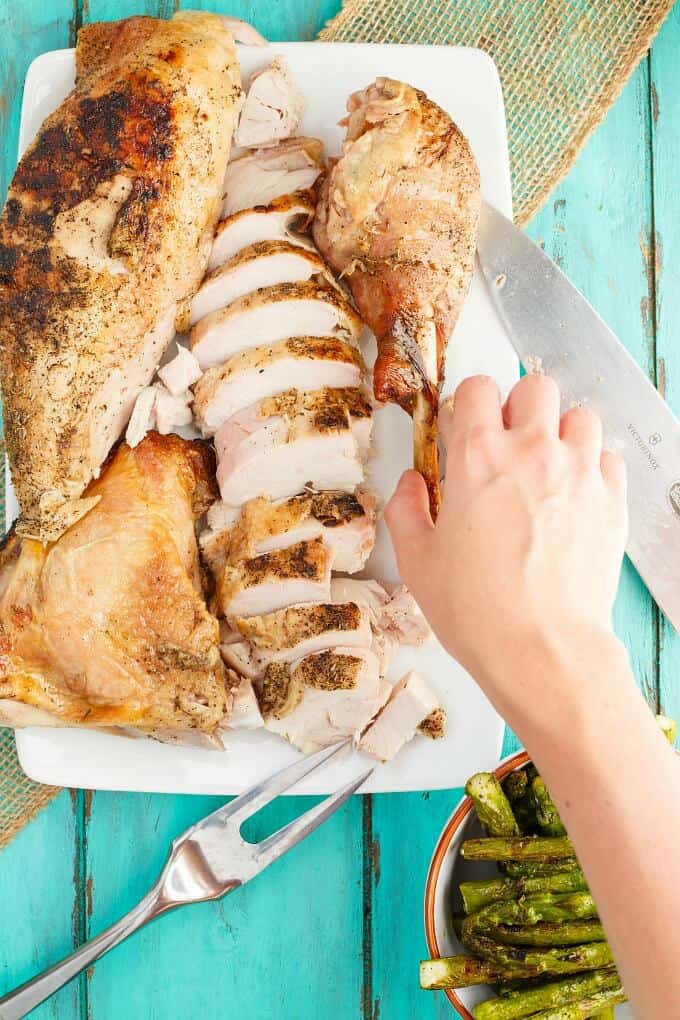
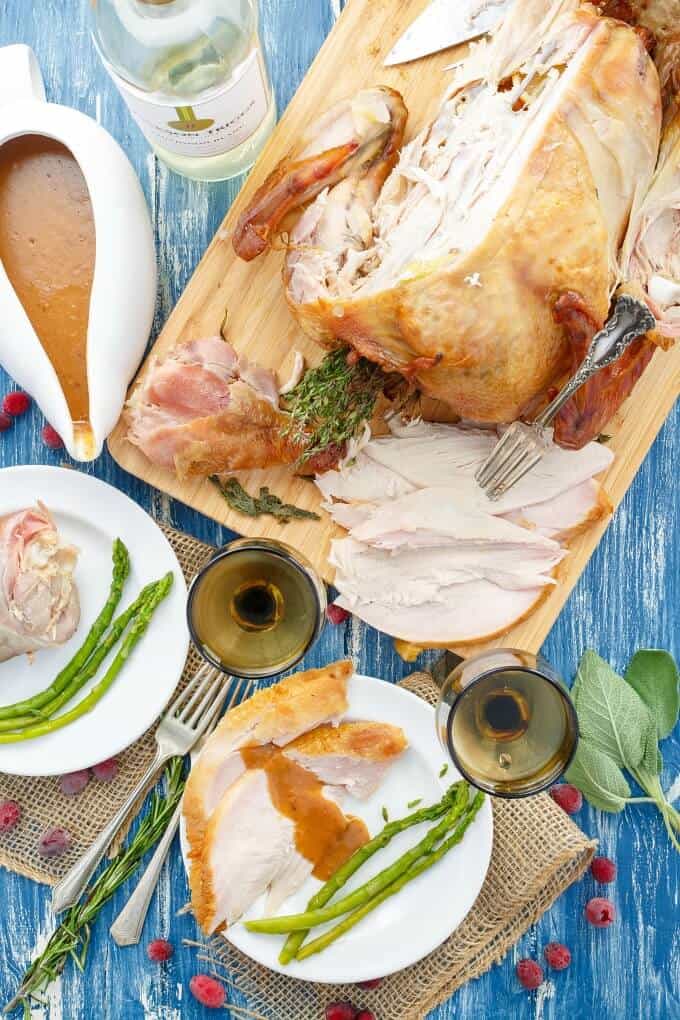
Move to a baking sheet, cover with aluminum foil, and allow to rest for at least 20 minutes. Then it is time to carve the grilled spatchcock turkey and serve!
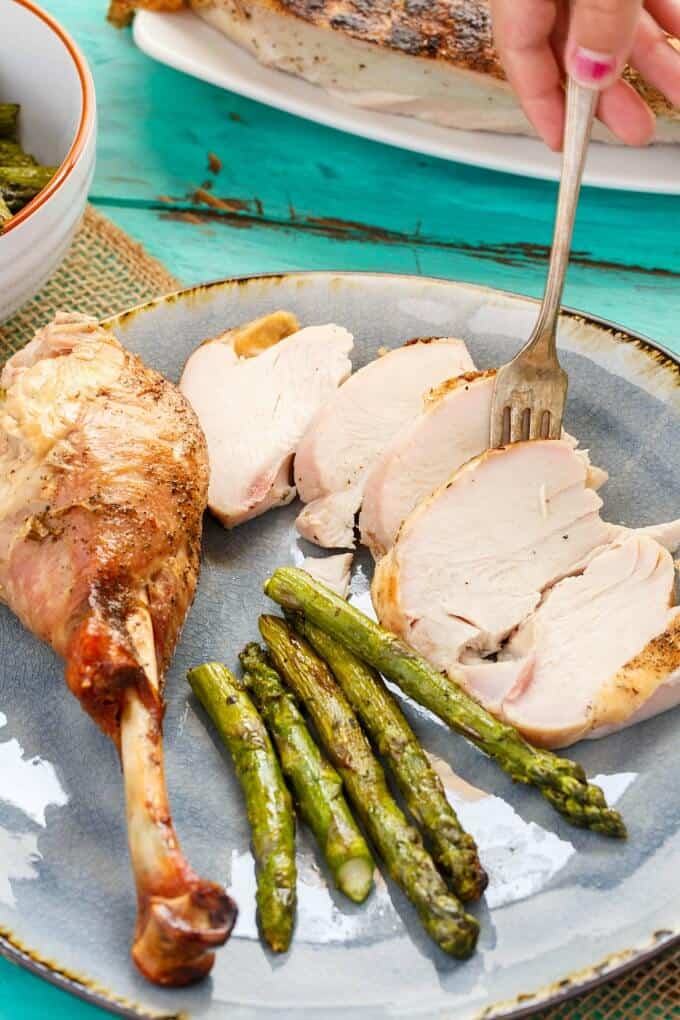
So not only did I help build a deck (still on-going) but I made a grilled spatchcock turkey in-between with no crazy effort or attentive eye! I mean, I kept an eye on the BBQ, but never did I feel I needed to check on it until near the end (nice, brown skin!)
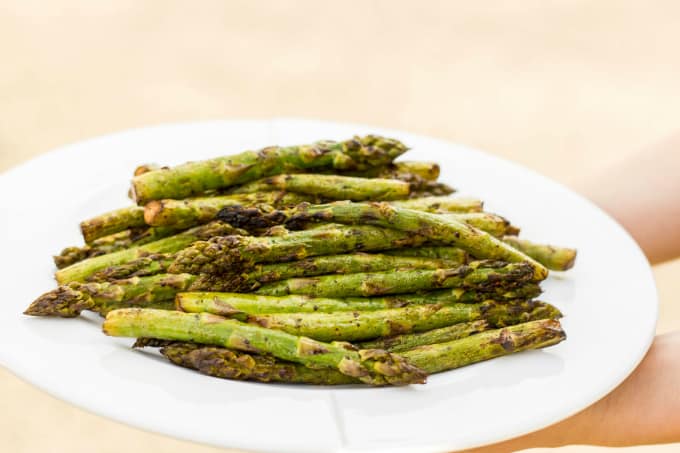
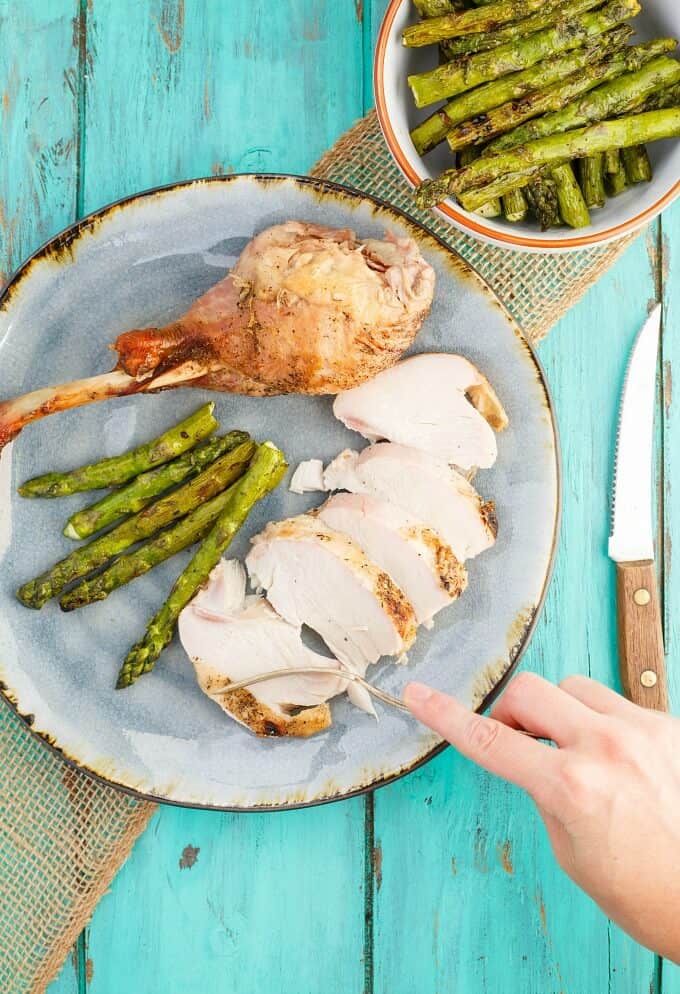
Kept it simple when serving and just went with my grilled balsamic asparagus and some potatoes!
I know I have been showcasing my #2meals1recipe campaign, though I have been focusing on drinks and desserts as of late 🙂 With this recipe, I did not really have enough creativity to come up with a vegetarian alternative. However, as a vegetarian at holiday events, and just any get together, I am used to just eating side dishes. And I am okay with that!! If I have time this week (last week of school) I hope to get up some stuffed potatoes (perfect on their own or alongside this grilled spatchcock turkey!)
📖 Recipe
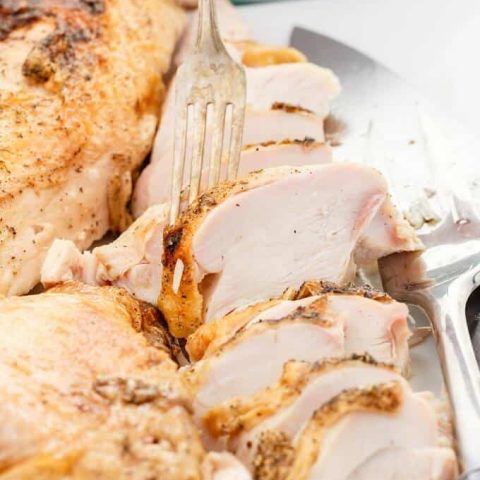
Easy Grilled Spatchcock Turkey (Gluten-Free)
This easy grilled spatchcock turkey recipe is the way to go during all the summer heat! It also makes for a great Thanksgiving dinner!
Ingredients
- 10 ½ lbs (4.77 kg) whole turkey, neck and giblets removed
- ½ tsp. black pepper
- ½ tsp. garlic powder
- 1 tsp. ground thyme
- ½ tsp. paprika (optional)
Brine
- I used Canadian Turkey's brine for this recipe, adding in a jalapeno, onion, carrot, sliced grapefruit and a whole head of garlic with some fresh thyme leaves! You can get creative!
Instructions
- Once your turkey has thawed, place turkey, breast side down, on a cutting board. Remove back bone with poultry shears and cut through ribs (you can also have a butcher do this.) Turkey should be able to spread open (we have now butterflied it.) Turn turkey, breast side up, and using good force, push hard down on the turkey breast. You should have the legs and wings pushing out sideways (like the bird has been flattened.) You will hear cracks and notice that the turkey is flatter.
- Cut off excess skin to reduce flair-ups while on the grill!
- Move into brine and follow directions accordingly (I brine for 24 hours.)
- Remove turkey from brine, move to a baking sheet or pan with wings tucked underneath, and pat dry. Allow turkey to sit, uncovered, in refrigerator overnight.
- On the day of grilling, remove turkey from refrigerator. Season with pepper, garlic, thyme, and paprika.
- Heat the two side burners of your grill to medium-high heat and leave the middle burner off. Place drip pan underneath the grill where the burner is set to off. Oil grill to prevent sticking.
- Once temperature is staying steady between 375F-400F, turn down two burners to medium heat. It is okay if you are a bit above these temperatures as opening the grill to put the turkey on will let out heat.
- Place turkey, breast side up, over the drip pan. Wings and legs should spread over to the sides where the heat is coming from.
- Cover and cook for 50-60 minutes, or until about halfway through cooking on a meat thermometer. Keep grill temperature between 375F-400F.
- Carefully flip turkey so breast side is down and cook for another 50-60 minutes, or until turkey is about 155F. Move turkey over direct heat and cook until skin is nicely browned, and internal temperature reaches 165F (10-15 minutes.)
- Move turkey to a baking sheet and cover with aluminum foil and allow to rest for at least 20 minutes.
- Carve and serve!
Notes
Get creative with the brine and seasonings! Butter under the skin with fresh herbs is always pleasing. Turkey may take more or less cook-time depending on how consistent your heat stays. Use a meat thermometer to ensure proper internal temperature (dark meat 175F!)
Nutrition Information:
Yield: 8 Serving Size: 1Amount Per Serving: Calories: 166Total Fat: 6gSaturated Fat: 2gTrans Fat: 0gUnsaturated Fat: 3gCholesterol: 133mgSodium: 86mgCarbohydrates: 5gFiber: 1gSugar: 2gProtein: 23g
PS: Check out Canadian Turkey's Summer Grilling Guide with Whole Turkeys (ebook!)
Need more turkey ideas?! Here are my recommendations:
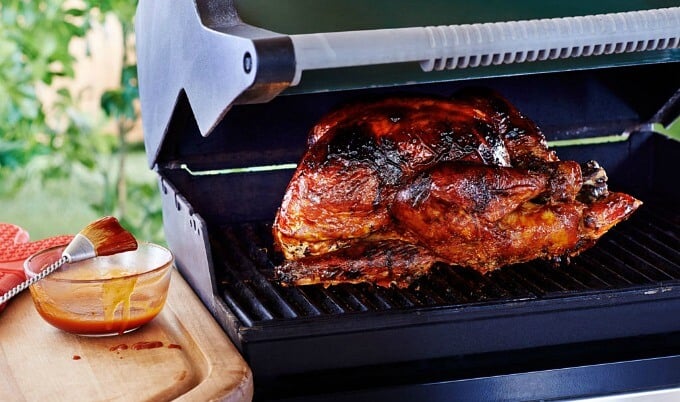
Barbeque a Whole Turkey from Canadian Turkey
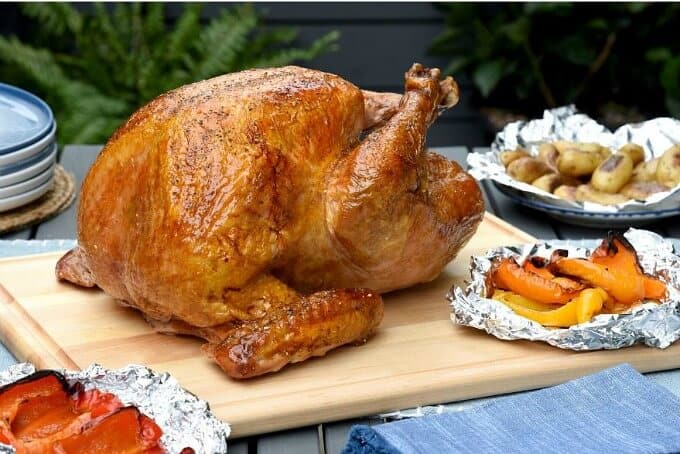
Summer's Best BBQ'd Turkey from Canadian Turkey
This is a sponsored post. I was fortunate enough to receive monetary compensation and/or products from Canadian Turkey. Though compensation was received, all opinions are my own and I would not recommend a product that I did not enjoy.
Love this grilled spatchcock turkey?! Try some of these recipes:
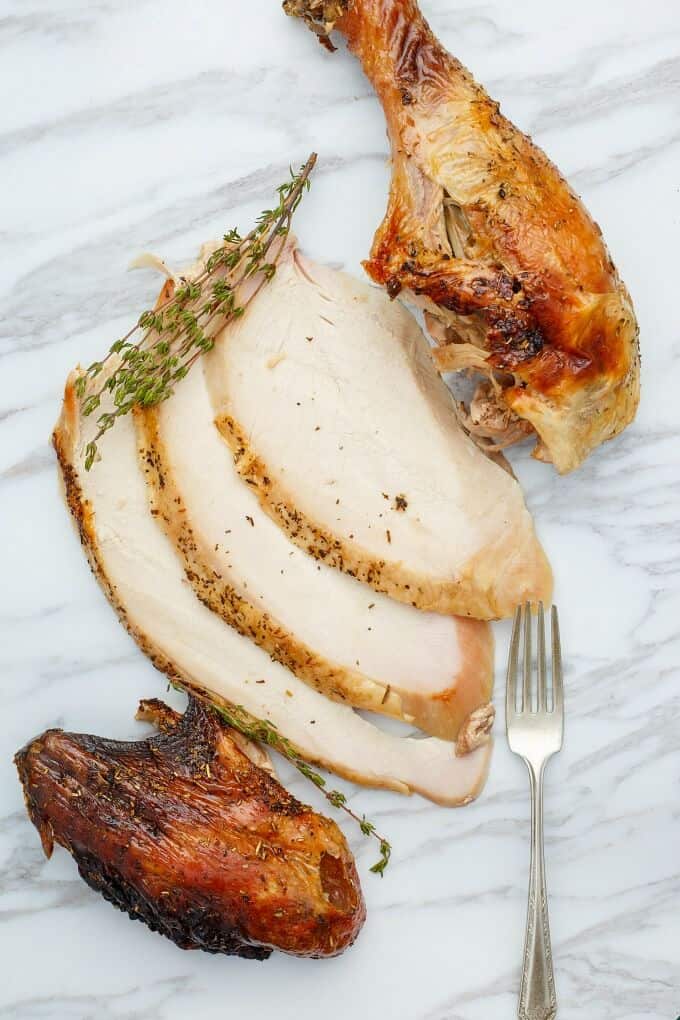
Grilled Herbes de Provence Turkey (Beer Can Turkey)

Leave a Reply