I finally got around to a new tutorial! Keep reading to find out how to make marshmallow fondant (two ways!)
My love affair with marshmallow fondant started a couple of years ago. My daughter's second birthday to be exact.
While walking did not take place until around 14-15 months, my daughter was speaking really early. Well before walking age, and because of this we have always found her vocabulary to be crisp and clear. So when I asked her some months in advance of her second birthday what she wanted her cake theme to be, she had no problems saying "Beauty and the Beast." I was ecstatic because it is one of my favorite Disney films and now I had the chance to portray it in cake form. But then that sinking feeling hit. How was I going to complete such a task given my very limited cake skills and no previous experience in fondant?
First step, researching fondant! Now, let me tell you, how to make regular fondant is quite a bit different than how to make marshmallow fondant. It was probably my biggest deciding factor when I chose which type of fondant I would use. Still to this day I have never made regular fondant, and I don't really see it any time soon as we don't care for the taste at all here. Heck, I have never actually worked with regular fondant! I am in the same boat as others, the taste is nothing special and I would rather work with buttercream. But there are those times, like my daughter's second birthday, where fondant had to come into play.
Thankfully, marshmallow fondant turned out to be easy to make and easy to work with! Seriously, just like play dough! I won't lie, I kept my cake design simple the first time I used marshmallow fondant, and also the second and third time I used it. I need to get a feel for it, but have also read that marshmallow fondant is not ideal for 3D shapes... Modeling chocolate is an alternative to both types of fondant and something I look forward to trying in the future.
For now though, let's talk about how to make marshmallow fondant!
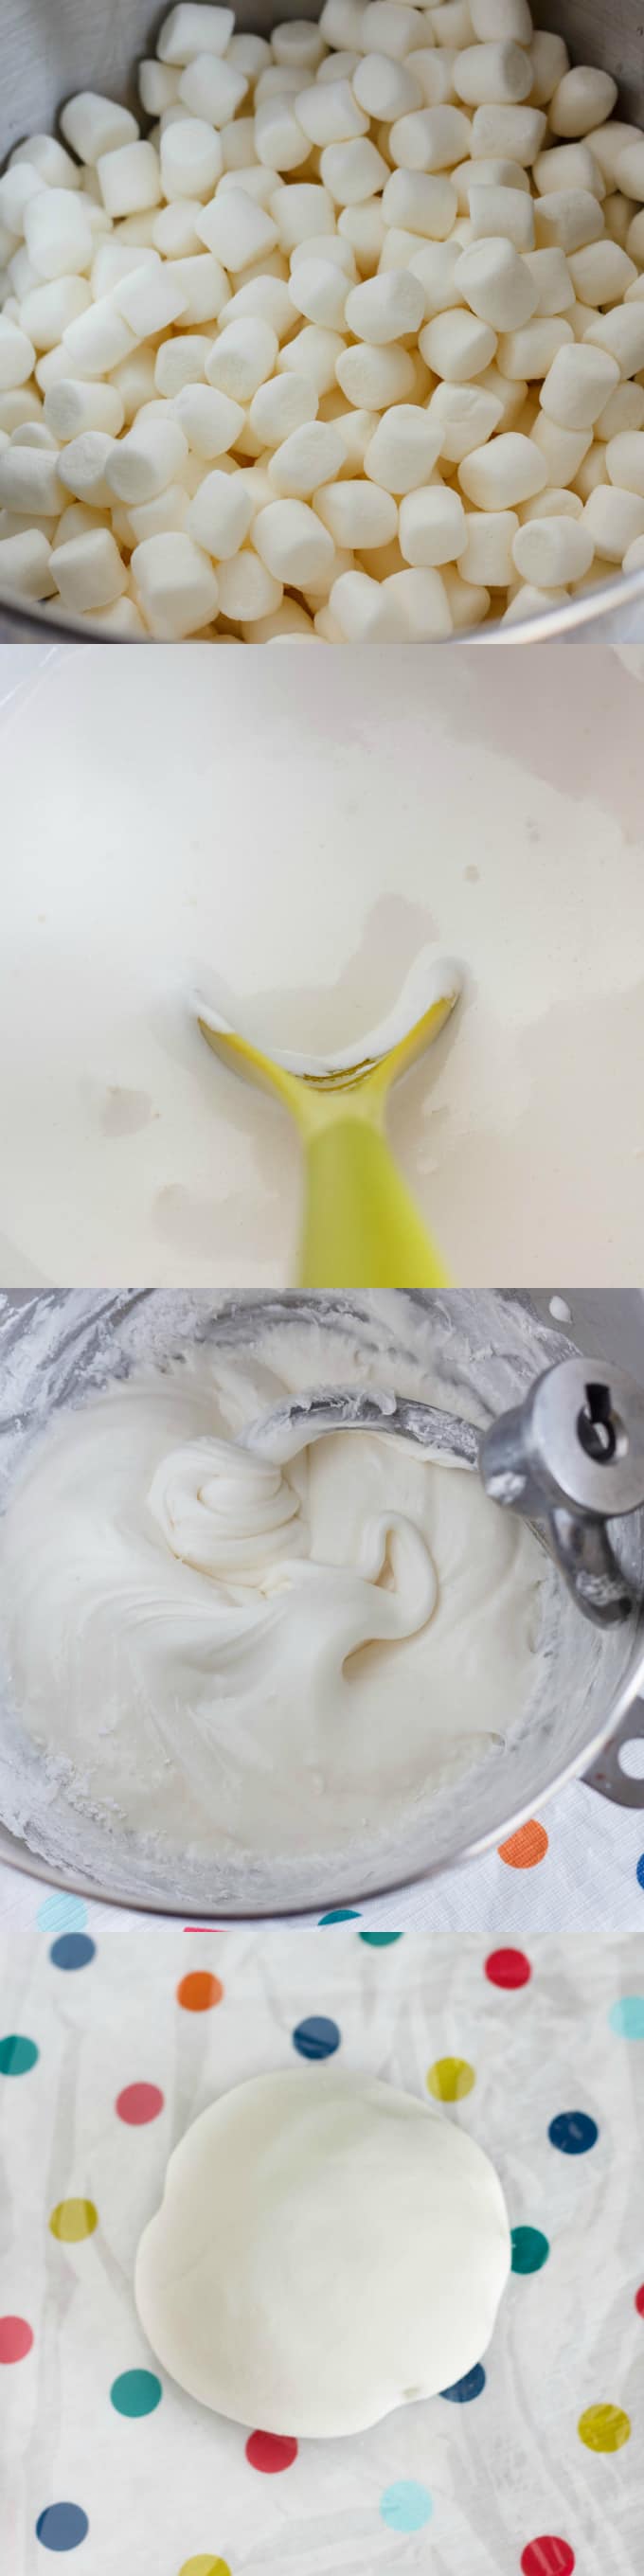
Supplies: a bag of mini marshmallows, water, confectioners' sugar, and some sort of grease for your hands (I really mean it, do not forget this!)
Tools: a stand mixer (for one option) or a frying pan for the other. A spatula helps in both cases.
📖 Recipe
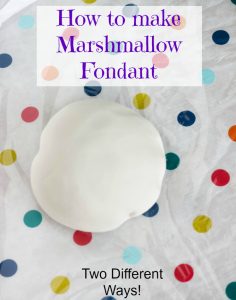
Tutorial: How to make Marshmallow Fondant (Two Ways!)
A tutorial on how to make marshmallow fondant, including two methods. Choose your favorite but rest assure, this stuff tastes better than regular fondant!
Ingredients
- 1 bag (16 oz/454 g) bag of mini marshmallows
- ⅛ cup water
- 2 lbs confectioners' sugar (will probably use less but always good to have extra!)
- Grease for your hands (butter or shortening will work here.)
- Food coloring if desired.
Instructions
- Method 1: Kitchen Aid Mixer
- Create a double boiler by adding an inch of water to a small saucepan and placing it over medium-low heat. When the water is just at a simmer (but nothing crazy) place the bowl of your stand mixer on top of the pan and add the marshmallows and water. Stir occasionally until the marshmallows have melted into a smooth paste. Add food coloring now if you are making a large batch of one color. Otherwise, leave as is.
- Place the bowl on your mixer and attach the dough hook. Add the confectioners' sugar in small amounts until a stiff ball appears. At this point, you will probably want to mix in anymore sugar by hand as it will be rough on your mixer (I suggest making this fondant in half batches if using the machine.) Knead until a pliable dough appears (you may not use all the sugar depending on the humidity in your house. If the dough feels stiff, you can add some more water or omit adding more sugar.)
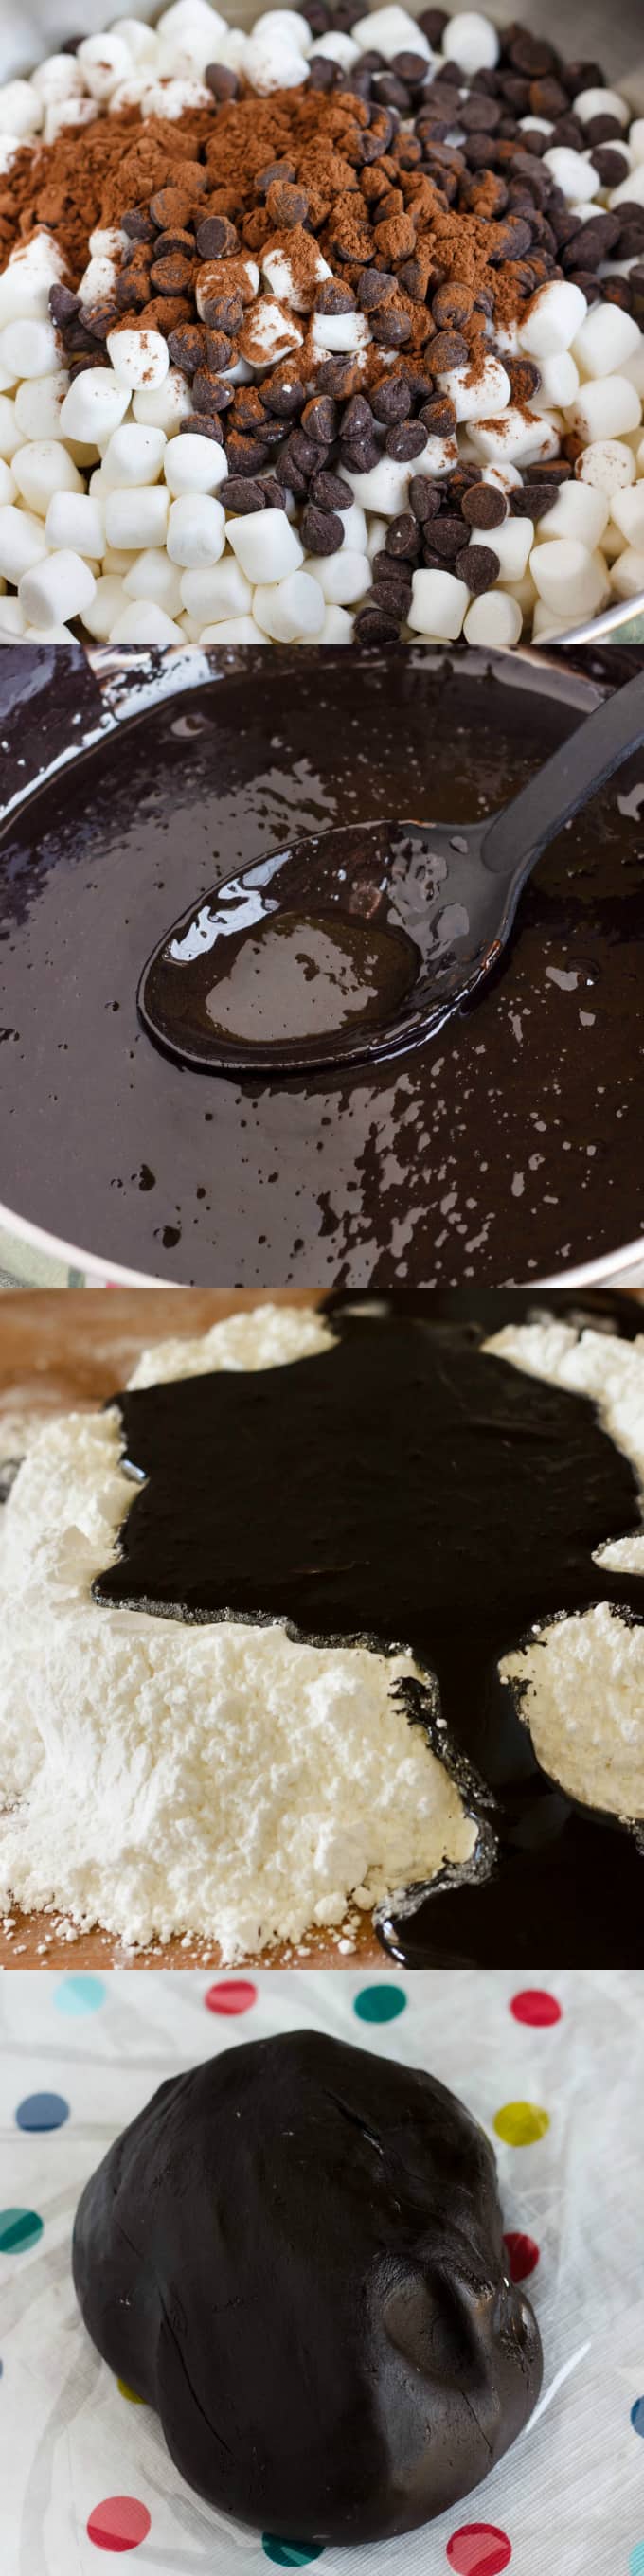
- Method 2: Stove Top and Hand
- Place a large saucepan/frying pan over medium low heat. Add in the marshmallows and water, stirring occasionally until the mixture is smooth and paste like. On your countertop, pour out the bag of sugar and make a large well to pour the hot marshmallow into (make sure the well is big enough or it will overflow like mine did!) GREASE YOUR HANDS. You will be sorry if you do not! Then, working carefully, combine the marshmallow and sugar, kneading until a nice ball forms. This will take some time and you may not use all the sugar, but just keep working (and cursing at the stickiness!) The stickiness will eventually dissipate and you will just be kneading a nice dough (once again, excess sugar is alright and preferred!)
- For both methods, wrap the marshmallow fondant in plastic wrap (smaller batches are better.) I keep mine on the countertop but you can also place it in the fridge.
- When ready to work with, dust surface with some confectioners' sugar and knead dough to make pliable. If dough is really tough, microwave in SMALL increments, nothing more than 5 seconds max.
Nutrition Information:
Yield: 1 Serving Size: 1Amount Per Serving: Calories: 3552Total Fat: 0gSaturated Fat: 0gTrans Fat: 0gUnsaturated Fat: 0gCholesterol: 0mgSodium: 25mgCarbohydrates: 911gFiber: 0gSugar: 891gProtein: 0g
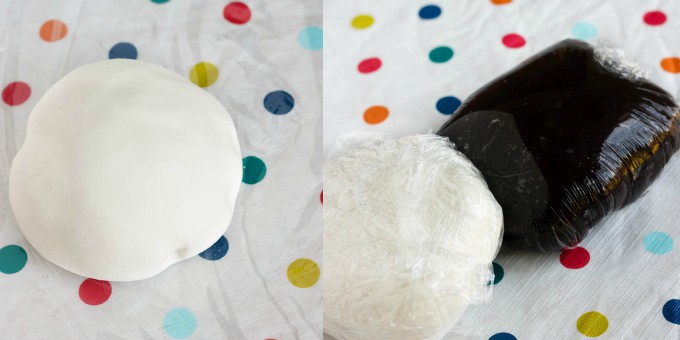
Secondly, when it comes to adding food coloring, you are left with two options. If you need a large batch of one color, add the food coloring into the melted marshmallows before adding the sugar. It will mix in really well. If you need small batches, well, you are mixing in by hand and that may take some time. As you can see from the above photos, to make deep colors such as black, you may have to work in some cocoa powder. I have not perfected the chocolate fondant yet (it was a bit elephant-skin-like in texture but still worked!) but I plan to keep working on it. Also, like buttercream, the colors will deepen as they sit.
I do not sit my batches overnight in the fridge. Room temperature was fine and personally, easier to work with. Marshmallow fondant does not expire until the date on the package of your marshmallows (which is usually a good year or two!) If you find the marshmallow fondant a bit stiff when trying to work with it, place it in the microwave in small increments. I accidentally went too long with my black fondant and it resulted in a sticky mess... Do not go over 5 second intervals!
Like I said, I have not worked much with marshmallow fondant but it is fun! Personally, buttercream is my favorite method and doesn't stress me out as much. But for those occasions where buttercream will not do, give this tutorial on how to make marshmallow fondant a try because you will find yourself adoring marshmallow fondant!
Some ideas of working with marshmallow fondant:
Marye
This fondant sounds really good, I would love to try it!
Kacey
So much better flavour with marshmallow fondant!
Ali @ Home & Plate
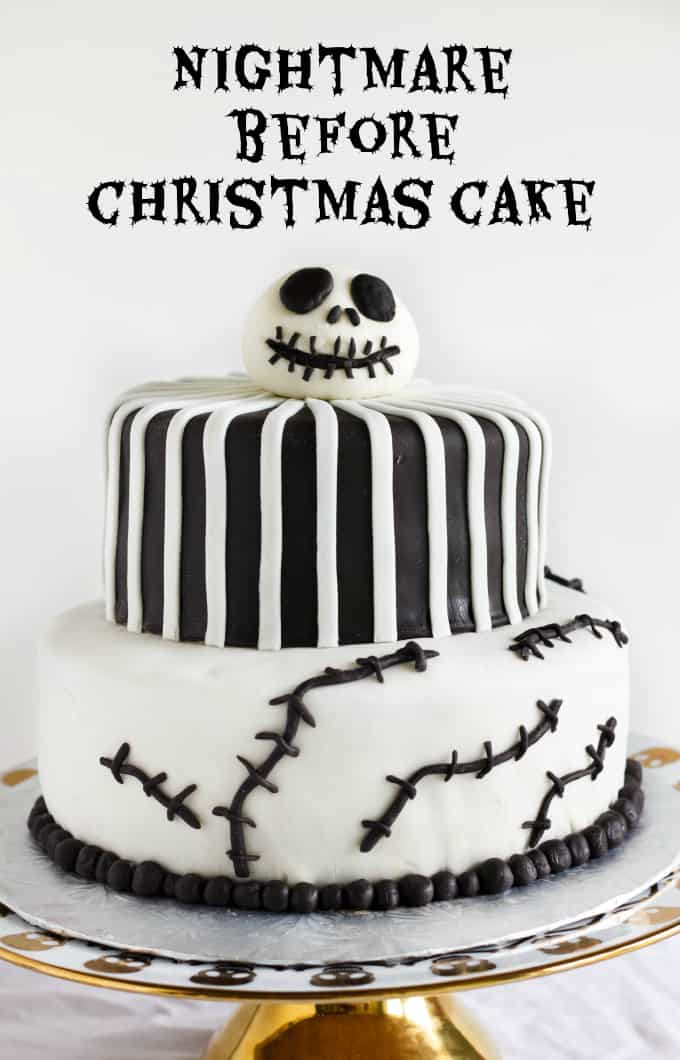
I've never made fondant and have never really knew how easy it is. I love the look of the cakes especially the ghost one.
Kacey
Thanks, Ali! Marshmallow fondant is super easy (not sure about ordinary fondant though.)
Paula - bell'alimento
I've never made marshmallow fondant but now I want to!
Kacey
You should try at least once 😉
Manila Spoon
I have never made fondant from scratch so I am delighted too see this wonderful recipe of yours! Love that you added samples of where you used it - your cakes look amazing! Thanks for sharing and pinned for future reference!
Kacey
Cannot have a tutorial without some examples of finished products 😉 Thanks so much!
Tonia
I've never even tried using fondant because of the taste of it but this is perfect! Can't wait to try it!
Kacey
Yeah, I agree, there is just no desire with regular fondant (I cannot eat either because of the gelatin but I have been told numerous times how much better marshmallow fondant tastes.)
Jill Silverman Hough
I love how fondant looks on a cake, but have never really liked the flavor--it's always seemed like wrapping your cake in a big stick of gum! But I never considered making my own--what a concept! Thanks for the idea, for the recipes, and for the adorable examples of what you can do with it. 🙂
Kacey
I love the gum reference! It totally does! Cakes do really look nice with fondant (especially simple, clean designs) but taste is the most important factor for me.
Kimberly @ Bake Love Give
What a fantastic tutorial to make it far less intimidating to try at home. Also, that cake is absolutely fabulous!
Kacey
Ohhh, Jack turned out quite nice (and really easy with this fondant!)
Kimberly @ The Daring Gourmet
I've probably been living under a rock but I've never heard of marshmallow fondant - and it sounds amazing!! I love this tutorial on how to make it and it looks simply gorgeous on your cakes, wow!
Kacey
I feel like that with many recipes that appear on other food blogs! People come up with such awesome ideas 🙂
Derek
I don't know why but years ago i started looking into how to make fondant. For some reason I was really interested into making cakes this way, I found that marshmallow is definitely the way to go if you want it to be somewhat edible. Thanks for the tips!
Kacey
I agree, Derek. I prefer working with buttercream, but fondant can really make a nice cake design. It is just the matter of taste and thankfully marshmallow fondant actually tastes good.
Erin
This looks so easy!!! I love indulging my kids in fun birthday cakes and I just tried using fondant a few months ago - for about a half second I thought about making my own!! But this looks like I could do it!
Kacey
You can!! I am happy to see someone else who enjoys making their children's cakes 🙂
Shelley @ Two Healthy Kitchens
Such an interesting post! I agree with you that regular fondant just isn't really anything special in terms of taste. It just doesn't add anything to a cake, other than artistic possibilities when you're decorating - so this marshmallow fondant is a great idea all around!
Kacey
It is true. I would rather have a cake that tastes good as opposed to looking good. But at least with marshmallow fondant, we have the chance of both!
Kristyn
Thanks for your tutorial! I've been looking into how to make fondant! 🙂
Kacey
No problem, Kristyn!
Jessica
Hi, I was just wondering if you store your fondant for a long period of time, where do you store it? In the fridge or pantry?
Kacey
I don't tend to store mine as I am usually making it for a specific cake 🙂 However, you can wrap it up tightly in plastic wrap and place it into a Ziploc bag, followed by an airtight container. You can check out this site as it has a lot of helpful information 🙂
Anonymous
THIS IS VERY HELPFUL:
If you use a spatula, spray it with cooking oil spray! It will be much easier to mix!
Lidia
How do you suggest you store creations made ahead of time? For example cupcake toppers made 2days in advance.
Thanks!