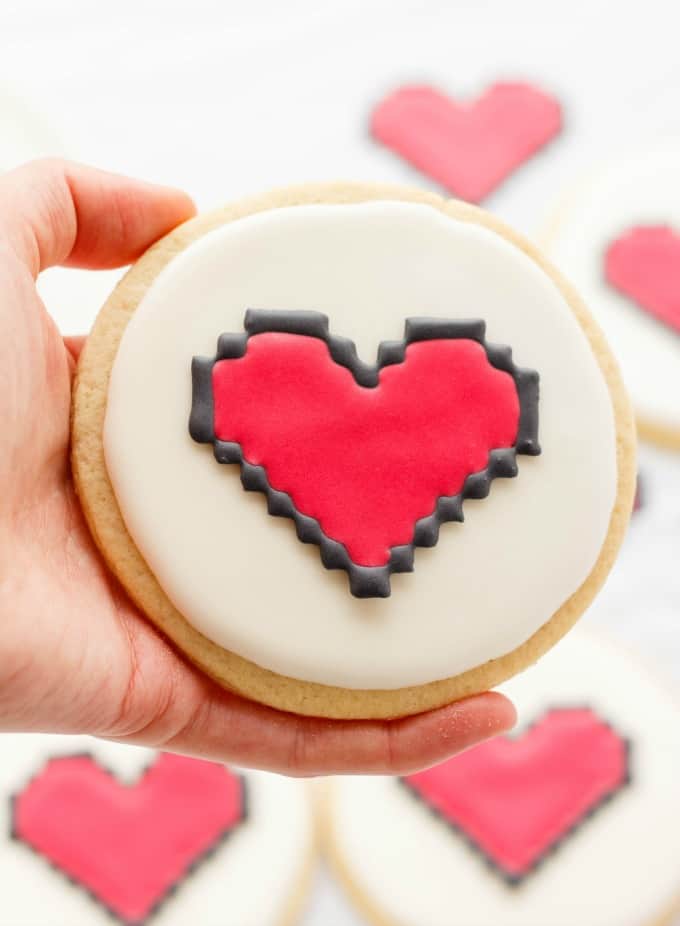
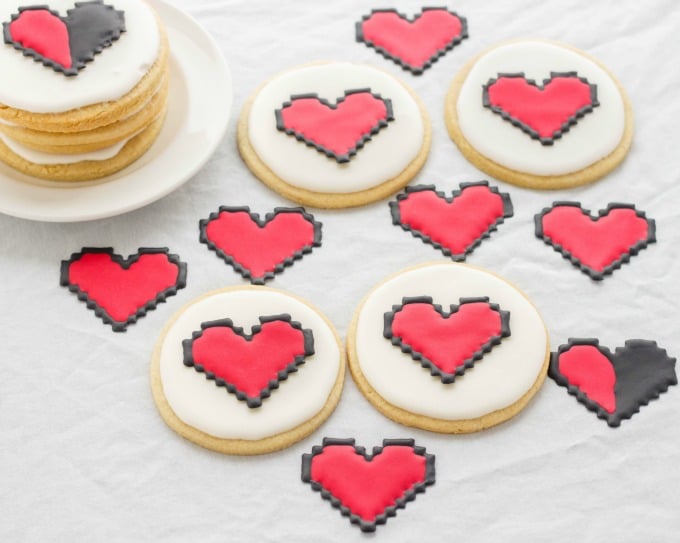
So cute and memorable, these 8 bit heart cookies can easily be made with minimal tools (and no special cookie cutter is required!) I present to you my second Cookie Geek creation!
I seriously believe this is the first time I have ever posted on a Sunday! I tend to have my post schedule made a month in advance, so when I was blindsided by the Canadian Lentils challenge, it really wrecked havoc on my plans. But hey! I completed the video (you can increase my chances of winning by viewing my video on YouTube and sharing on social media if you desire!) Never in a million years did I think I would get in front of a camera, but I did (and so can you, so get on it!)
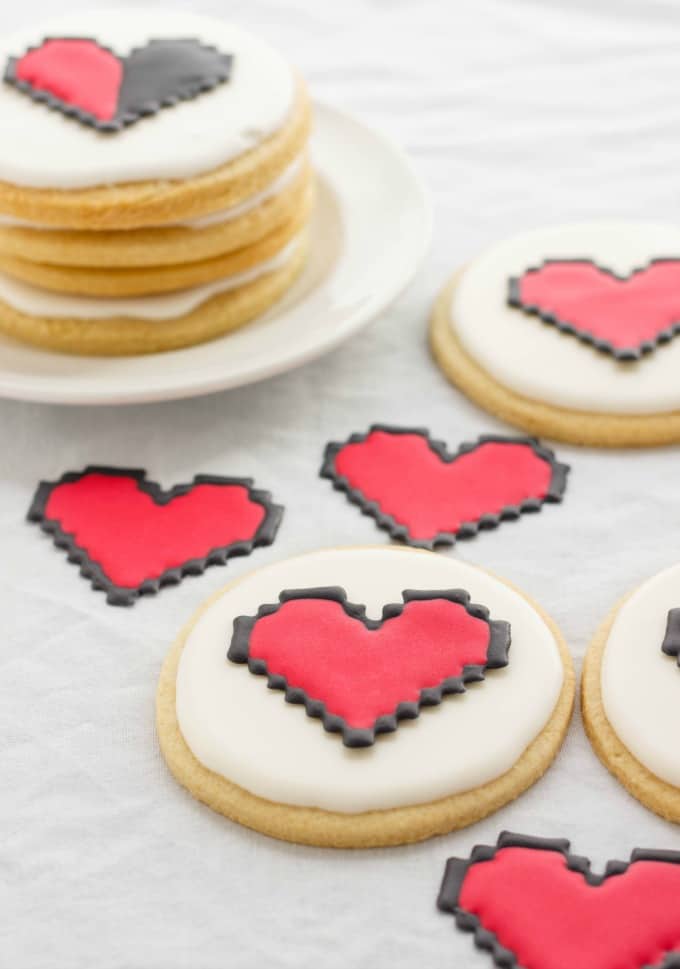
Okay, enough of that (though I am super excited!) I bring you my second Cookie Geek project today: 8 bit heart cookies! I am sure you have seen these guys around, but let me tell you, MANY of them use special cookie cutters. I think it is neat and would love to own one but that is just another item to add to the collection (and another novelty item.) Plus, many do not want to put the effort into actually buying these tools. I don't blame you. So that is why I am here to explain to you how to make these 8 bit heart cookies with no special tools!
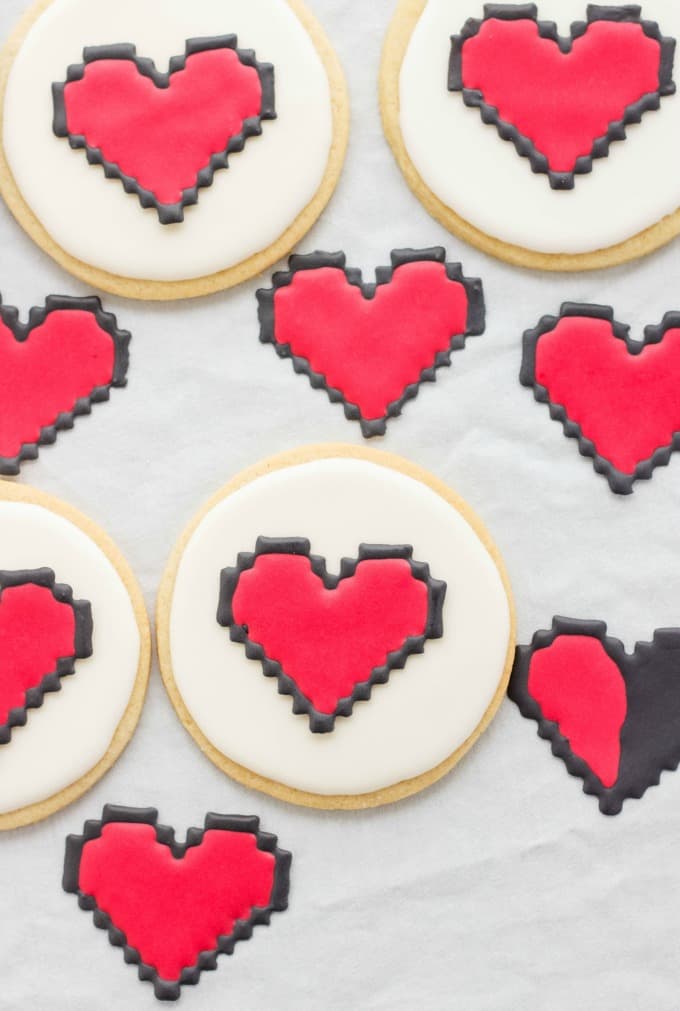
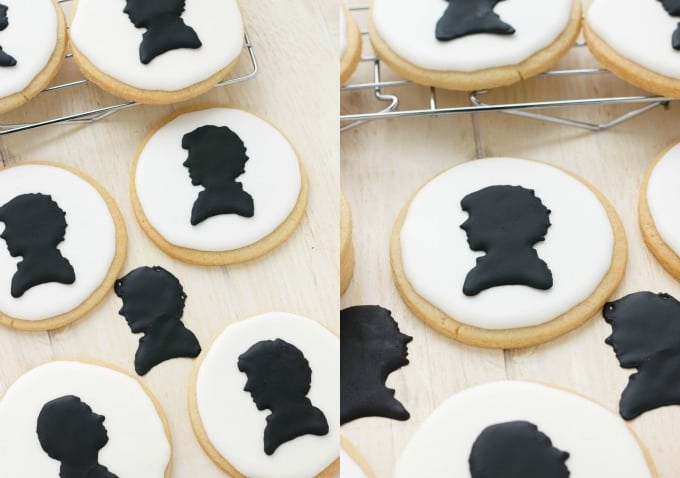
Like my Royal Icing Sherlock Cookies, these 8 bit heart cookies begin with you picking your design. My favorite Zelda game dates back all the way to the NES with The Legend of Zelda. I have so many fond memories of this game and I am still happy to own my original cartridge. My collection has only grown and since my Sister and Dad upgraded me to the Nintendo 3DS a few years ago, it just keeps going, and going, and going 🙂 I would have loved to use the design from the original Zelda, but I went with a more popular design that is easily recognized by many (trust me, if you do a search for 8-bit heart, this is the one you will see most commonly.)
Here is the link that I used for my 8-bit hearts. Also, feel free to take a look at my Sherlock cookies to better understand the technique I am using here. I am still struggling making a nice circle, but as I said, practice is key to gaining full control of royal icing!
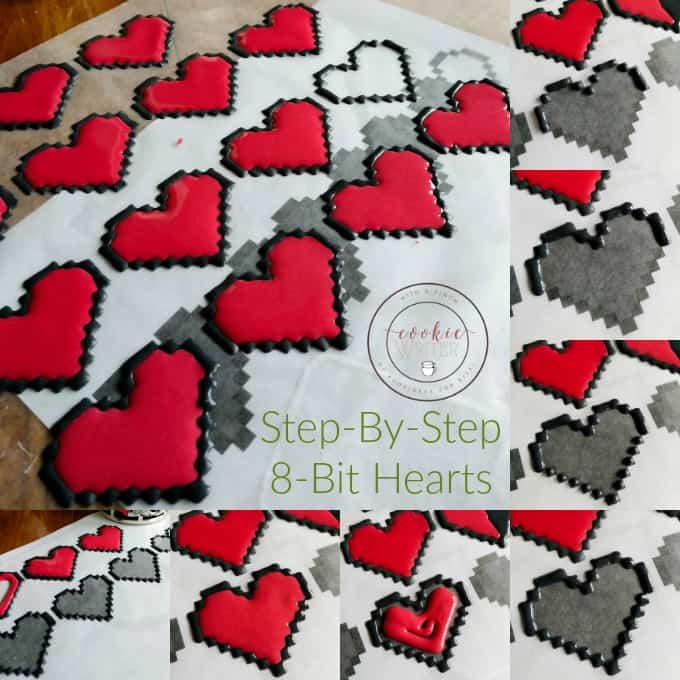
Steps:
- Print off your silhouettes and adjust the size according to your cookie. Place print under wax paper and tape down so your transfer doesn't move while you work. Using your prepared batch of royal icing (I like Sweetopia's but I omit the extra cream of tartar,) adjusted to the right consistency (also a great tutorial found here,) I begin with the black outline. Work in half sections (so top half of heart outline first, and then onto the bottom portion.) I say this because sometimes your icing dries really quick and you don't want to be messing around with partially dried icing (it will look bad!) Once outline is complete, allow to dry somewhat (I did about 5 hearts at a time, and then went back in with red icing.) If you don't allow the outline to dry somewhat, you risk the chance of your colors blending. I found a 1 tip worked well here. Use a toothpick where necessary to get those sharp lines.
- When the black icing has firmed up a bit, get your red icing and fill in the hearts! Don't use too much or you risk losing that 8-bit look. I added some icing and then used a toothpick to do the finer details. Allow to dry overnight!
- Carefully remove hearts from paper. Flip upside down on your hand.
- Add some royal icing onto the back (not too close to the edge so it does not leak out.) This will act as our "glue."
- Gently place onto prepared cookies (again waiting overnight or 24 hours for the cookie to dry first before doing the transfer!) Press down gently to help it stick.
- Allow to sit and harden before serving!
- Sit back and enjoy your creations! Oh, and my favorite sugar cookie recipe can be found here!
- The half hearts are just as easy! Just fill in the black side of the heart as you do the outline and allow to dry before filling in the other half of the heart with red icing!
Cookie Geek is a project created by The Cookie Writer that brings together all things geeky! The creations will not always be cookie-based, but rest assure I will try and keep the projects simple in respect that you should not have to buy special tools such as custom cookie cutters. Feel free to share what creations you would like to see be a part of Cookie Geek!
Love these 8 bit heart cookies?! Try some of these recipes:

Faith (An Edible Mosaic)
These are adorable! I love that they're a little different from the usual heart...they'd be perfect for a classroom Valentine's party!
Kacey
I really wish I was in charge of Valentine's treats for my daughter's classroom 🙂
Stephanie
Ummmm these are awesome! So fun and creative!
Florian @ContentednessCooking
Wow those so so amazing and fantastic cookies for valentine's day!
Dorothy at Shockingly Delicious
Super clever of you! Wonderful cookies!
Heather | All Roads Lead to the Kitchen
Oh my gosh, these are AWESOME! I know a few people who would flip to have these as their Valentine's treat.
Laura @ Petite Allergy Treats
These are so cute Kacey! I had no idea piping could look so professional. I'll have to try this technique soon!
Kacey
Thanks, Laura! I have sooooo far to go, but practice makes perfect 🙂
Lora @savoringitaly
Congrats on doing the video! I have seriously never seen these cookies before...they are so, so cute! Just perfect for my sweethearts this month 🙂
Kacey
Thank you! And I am glad you get to see them now!
Serene @ House of Yumm
How cute are these cookies?! You are so talented!
Chrisy @ Homemade Hooplah
These cookies are SO creative - love it! My husband and I are both completely geeky so I know he'd get a kick out of these 🙂
Kacey
Yay! Fellow geeks unite!
Joanie @ Zagleft
These are such cute cookies, Kacey. You are so creative!!
Kacey
Thanks, Joanie!
Sharon @ What The Fork Food Blog
These cookies look so awesome! I used to play Zelda too - fun game, never beat it though lol
Kacey
Haha, there are many games I have not completed so don't worry. I have been trying to kick that habit, though!
Charlotte @ whatcharlottebaked
These are so nerdy, I love it 🙂