Looking over the previous threads on this topic, I am starting to think I like to write a lot... I am so sorry! I love writing and do not realize how absorbed I have become until I sit down and look over my past work. Four posts on my stairway remodel?! I have to admit though, we did need to install new treads and risers, so explaining that part was an extra post in itself.
Be sure to check out my previous posts here:
Part 1
Part 2
Part 3
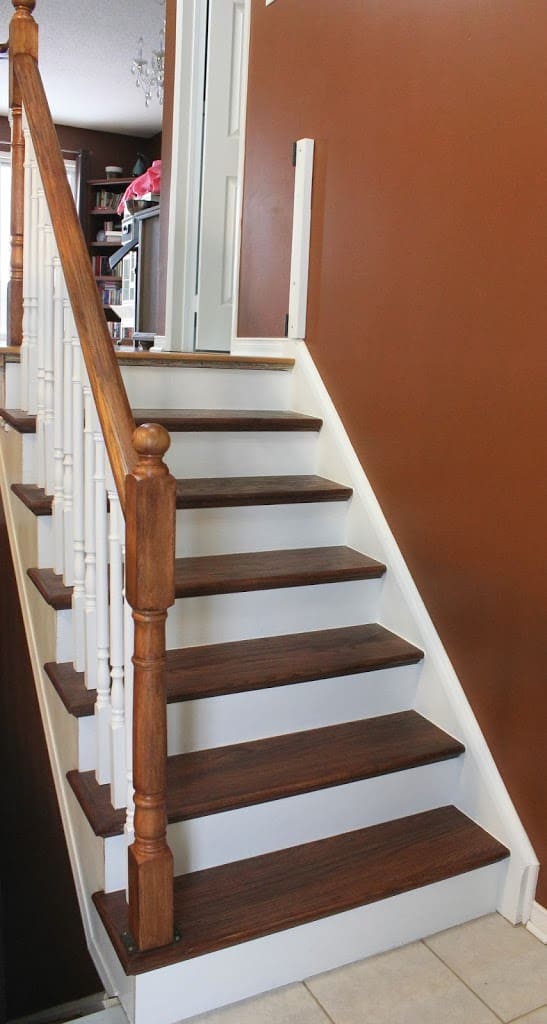
Today I will explain how I went about painting the spindles and risers, plus finishing off the treads with Polyurethane. In a way, this post will be a mini-reveal to our completed stairway project. Still some finishing touches, but overall, about 90% complete!
Once everything was securely installed, I went into heavy cleaning mode! What a mess. But to ruin my project now was out of the question. I needed a clean surface to work on. Make sure your stairs are dirt free, as any tiny thing will make its way into your paint and Polyurethane. I decided to Polyurethane my stair treads first before painting the risers. One: We use these steps everyday, they needed to be protected. Two: When you go to paint the risers, any paint that falls on the dried Polyurethane coat can be wiped away or, if the paint has dried, you can carefully use a razor blade to take the paint off. Number 1 husband and Girlie went off to the cottage for the weekend, leaving me with this task, and the dog. Thankfully, Rex sits back and watches, but I was still worried hair would get into my final finish.
*Note: Polyurethane smells HORRIBLE. Terrible, atrocious. I used the oil based product, with windows and doors open, wearing a mask, and still could smell the stuff! Number one reason why I was home by myself, working on this task. Consider proper procedures and you will be fine.
Supplies (for this chapter):
Disposable foam brushes
Small container to pour Polyurethane into.
Dust/safety mask
Latex gloves
Can of Polyurethane (in your choice of oil or water based, and which sheen you prefer.) *I used Varathane's oil-based Polyurethane in a clear finish I believe (borrowed the can from my father-in-law which saved me a ton of money.)
Sandpaper (220 grit, and another finer grit if you want.)
Primer (Zinsser Bulls Eye 1-2-3 is my go-to primer!)
Paint for your topcoat (I used Benjamin Moore's Simply White)
First things first, stir the can of Polyurethane gently. Do not shake! You don't want to create bubbles. Pour a small amount into a disposable container. This prevents any debris going back into your original can. Take your foam brush and dip it straight down into the polyurethane, about one-inch is good. A little goes a long way. You want to start at one end of the stair tread, and slide the brush across, left to right, in a nice, straight, smooth stroke. Repeat until tread is covered. I had to work around my spindles but there was no issue of bubbling or streaks. It is much easier than you think, don't worry. Now the problem is, our stairs are the only set and lead to our main floor. I was going to hang in the basement for the night but then the dog would need out, food would be needed in the fridge, etc. I decided to do every other step. Make sure to put something down so you remember which steps you can walk on. I thought I would remember, what a mistake...
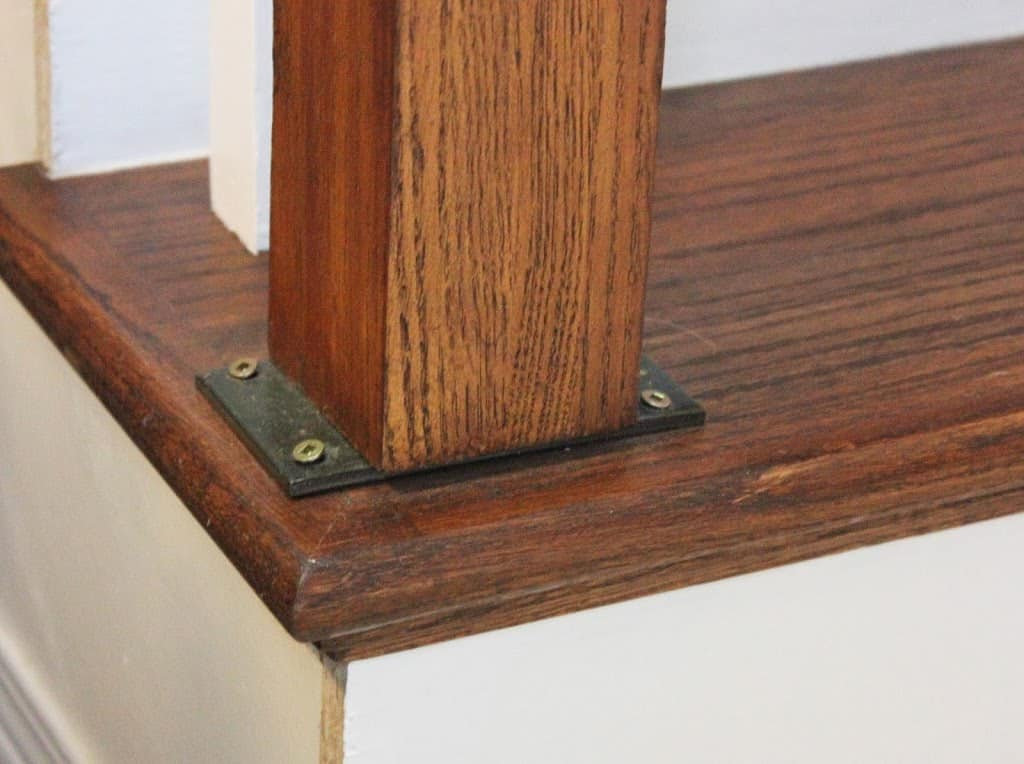
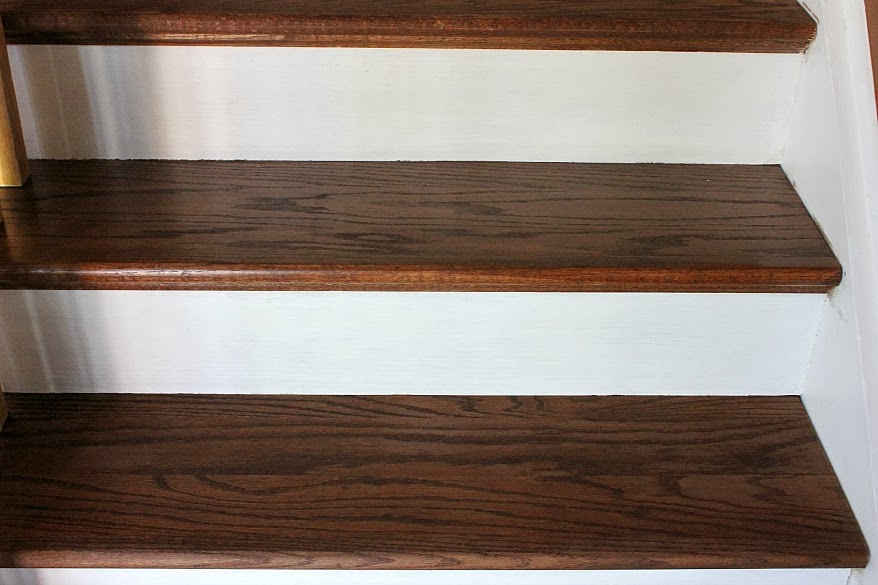
Now you play the waiting game. I am pretty sure the can recommends a good 12-24 hours. I mean, I could walk on it by morning, but you want to be careful. The next day you are going to repeat these steps for the opposite stair treads. Try to minimize the use of the stairs, not only for the polyurethane to set, but the more you use them, the more chances of debris (aka, fine hair) landing in your work. Allow to cure again. When your coat is good to go (following the instructions on the can,) take your sandpaper and lightly sand across the treads. You will do this between each coat until you reach your final one. This gets rid of any bubbles, allows you to remove something that shouldn't be there (thank you Rex), and leaves you with a smooth finish. I found my first coat didn't feel too smooth, but once I applied a second coat of polyurethane after sanding, wow, the difference was night and day. You want to put on quite a few coats; I managed two before the family arrived home. I plan to do some more in the future but for now, as long as I have some protection, I am happy.
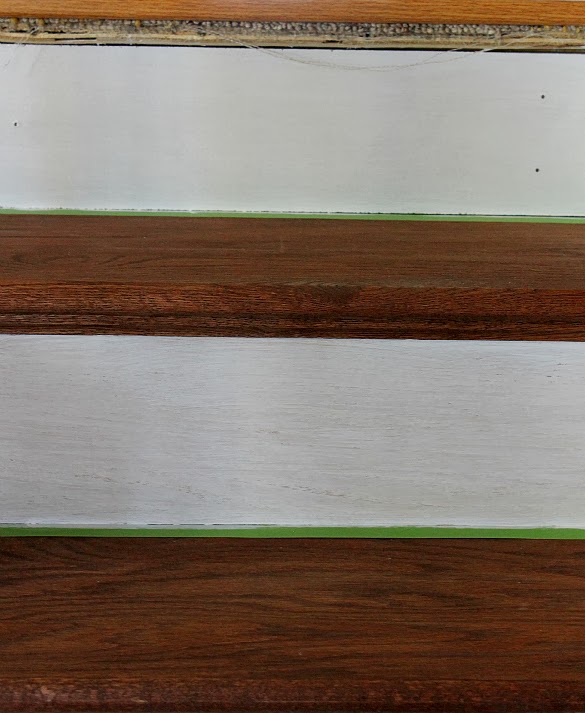
Once your treads are nice and sealed, move onto the risers. I applied painter's tape to the edge where my riser and tread meet. You can also cover your entire step just to be safe but I had high hopes there would be no accidents. Apply one coat of primer to the risers. When dry, apply your topcoat of paint. I did one coat, then caulked my seams, followed by another coat of paint. You decide how you want to do it. Mr. TCW's co-workers mentioned that caulking yellows overtime, so I did not want to risk leaving it unpainted. And there you have it! Your stair tread and risers are complete!!
Now for the fun job, the spindles! What a time consuming task. If anything took the longest, it would be this step. I am sure people know how to cut corners but I really did not want to have to come back and redo anything.
Supplies (for this chapter):
Sandpaper sponges (60/80/100/220) *I started with 60 grit and realized the 80 grit worked fine so I used 80, 100, and 220.
Cloth to wipe spindles down
Primer (Zinsser Bulls Eye 1-2-3 is my go-to primer!)
Paint for your topcoat (I used Benjamin Moore's Simply White)
High quality paintbrush
Vacuum

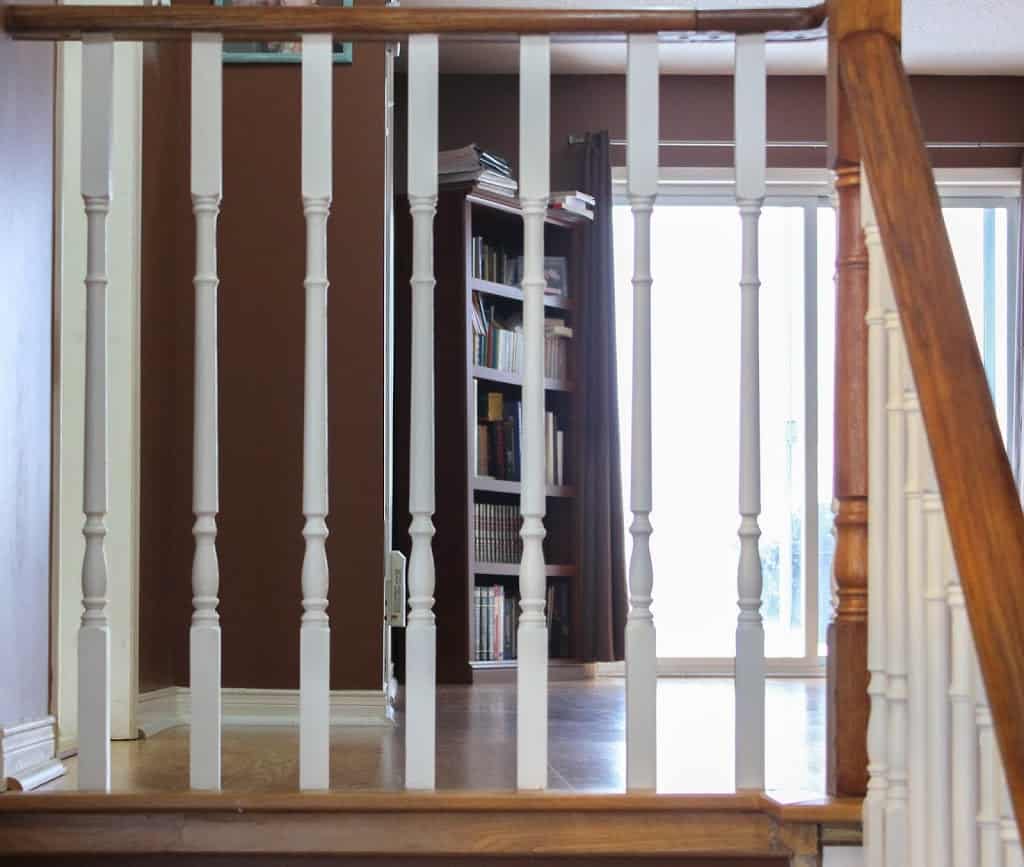
If you can remove your spindles to sand, that would probably be much easier. Unfortunately, the only spindles I could do this for were the ones attached to my stair treads. I sanded them while Mr. TCW was installing the new treads. Prepare to spend many hours on your hands and knees, sanding the spindles from top to bottom. Once I got into a groove, the task went quite fast. I did the 80 grit first, followed by 100, and then did a quick once over with the 220 to make sure they were nice and smooth. You don't have to go crazy, from what I saw online in my research, it is based solely on how much you want to do.
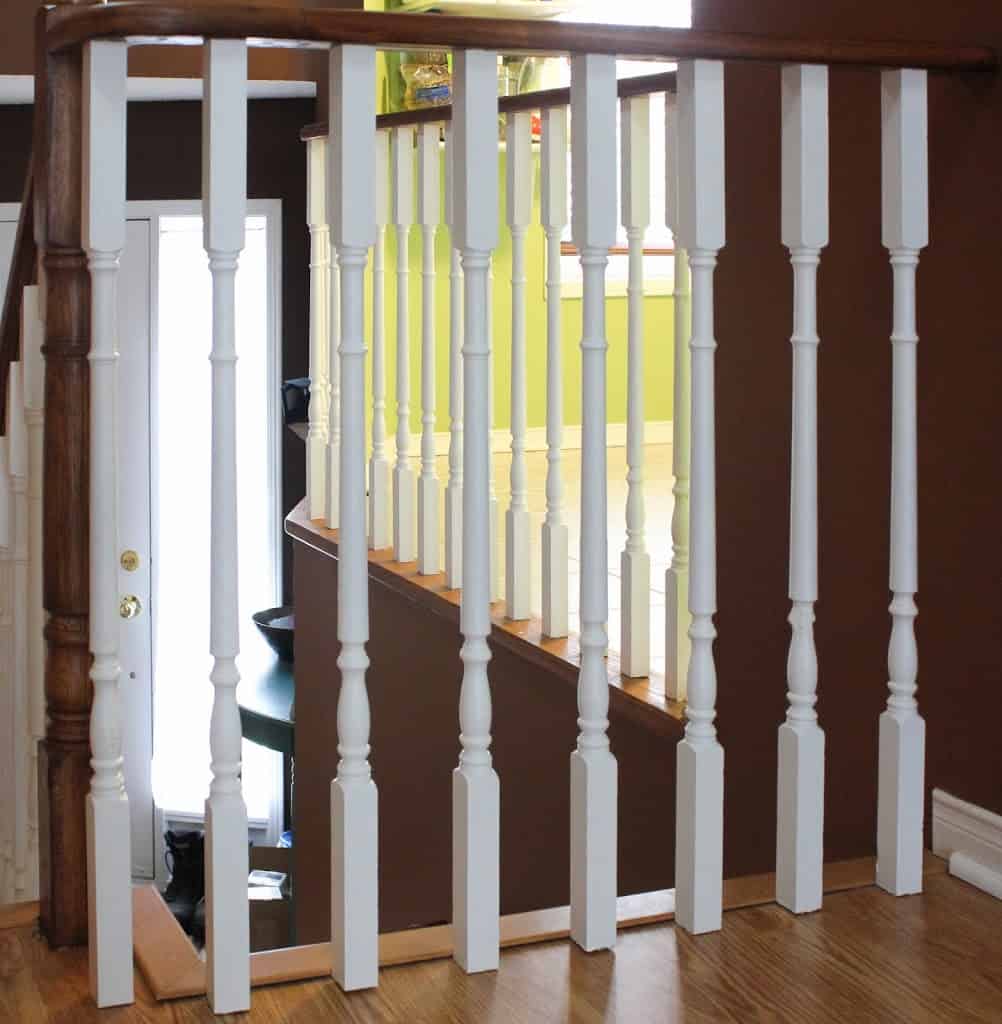
Wipe down all the spindles with a cloth and vacuum the debris around you. Clean work area is your friend! Now it is time to begin priming the spindles. This was surprisingly fun but with the way my house is designed, I was constantly going up and down stairs to paint one side of the spindle, then the other. I had a little step stool to reach the spindles from the main floor, but there was one area that I was unable to reach. I got creative and bent over the top of the railing and painted the top pieces. To get the lower areas, I reached my arm around the spindles and painted at a super awkward angle. Removing the spindles would have been great, but I did all this while Girlie napped so let's just say, I didn't need any injuries from not having proper safety practices.
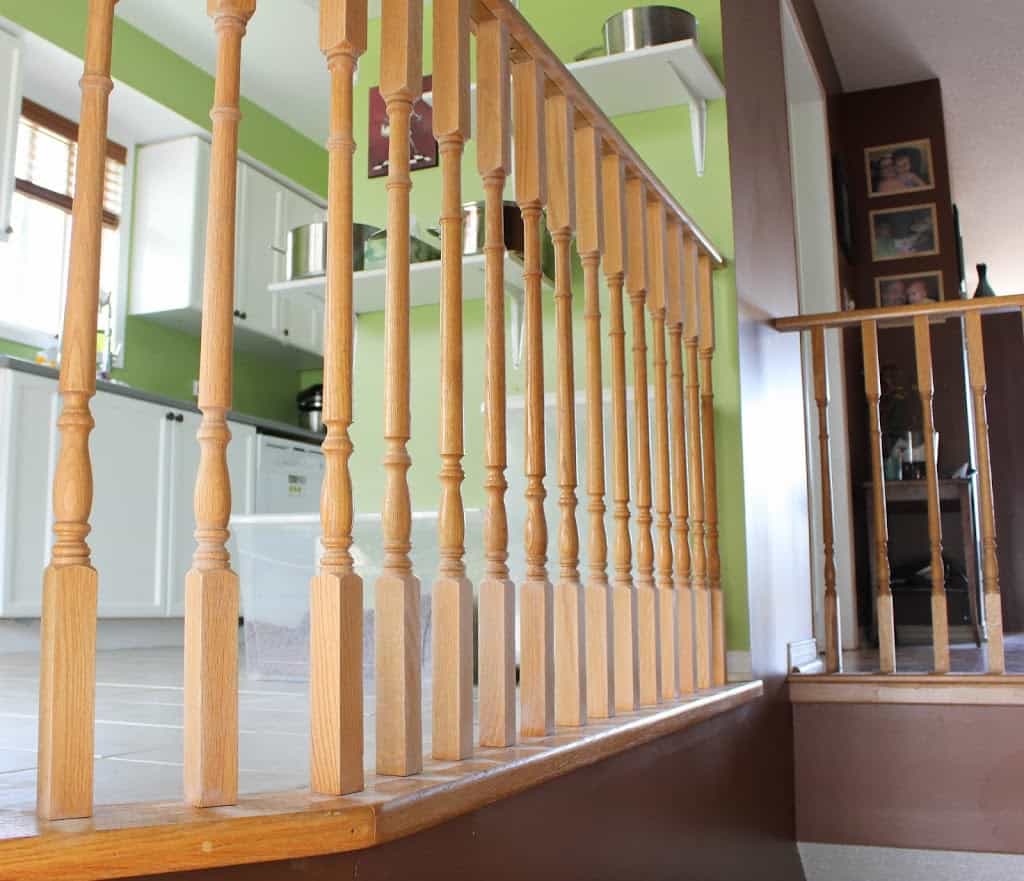
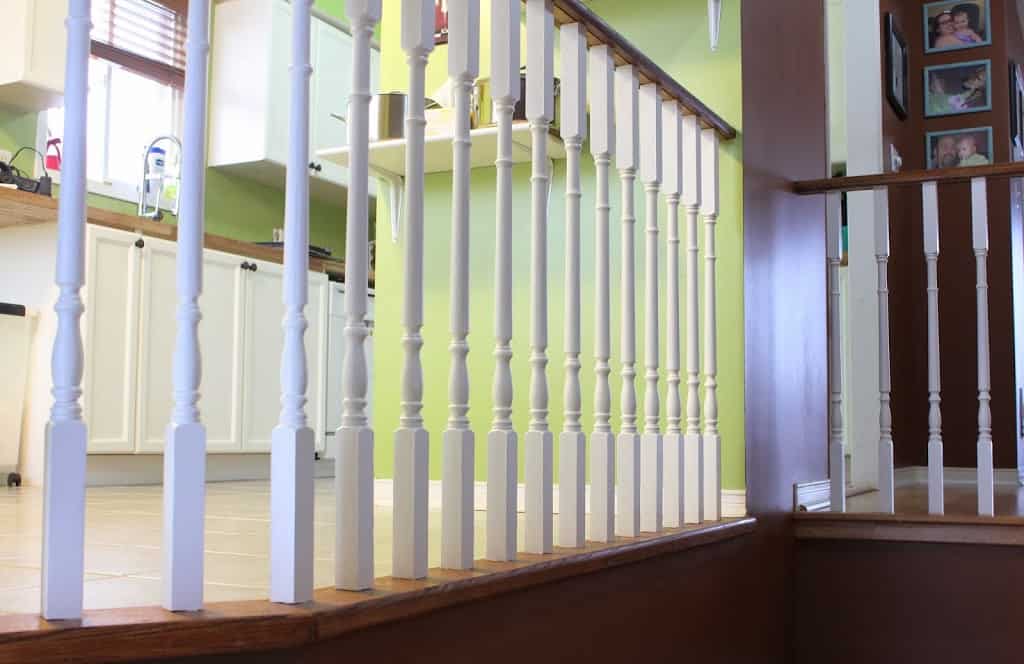
I believe I did two coats of primer because I found the spindles, with their awkward curves and such, left me touching up areas. For this part alone I believe I spent 5 hours minimum, and that was only the primer! When I moved onto the top coat, I was much faster at the task now that I had a rhythm down but it still took another good 4-5 hours since I did two coats of top paint. By the time I was finishing up my last spindle, I was sooooo happy to be done! The task gets so monotonous that you start to hurry, but that only creates problems (aka drip marks, but thankfully I have been able to get them off my treads.) Take your time, set up some music or a TV show, and prepare yourself for a long journey.
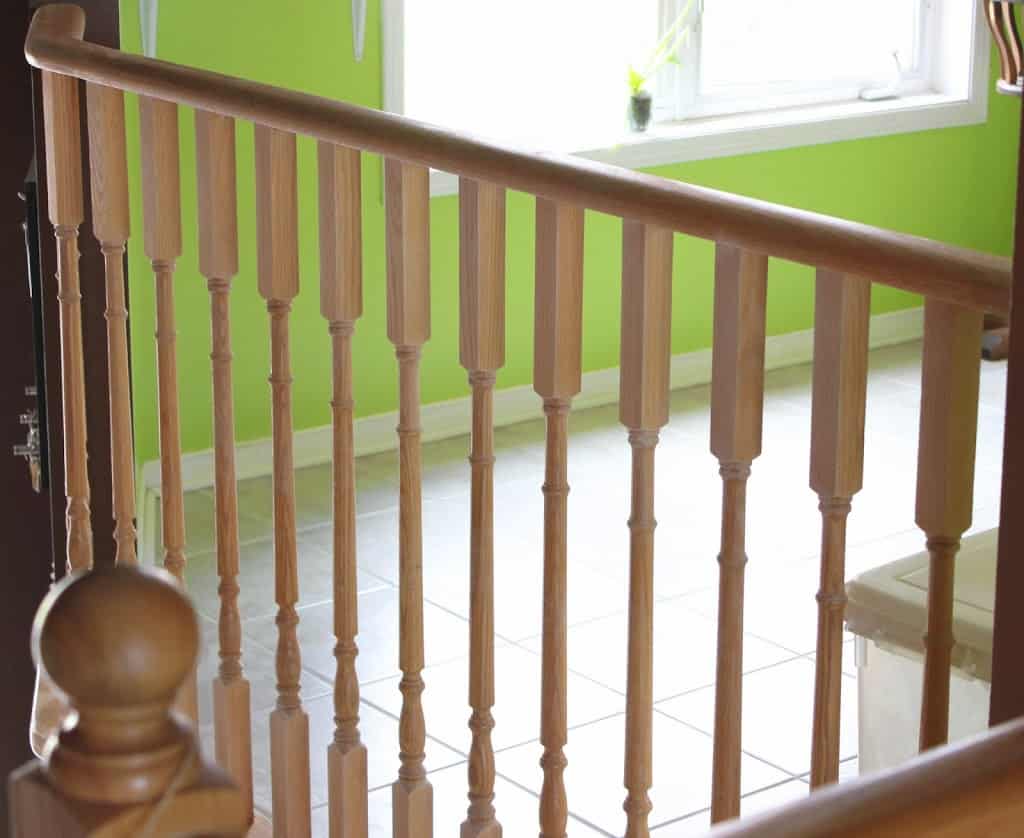
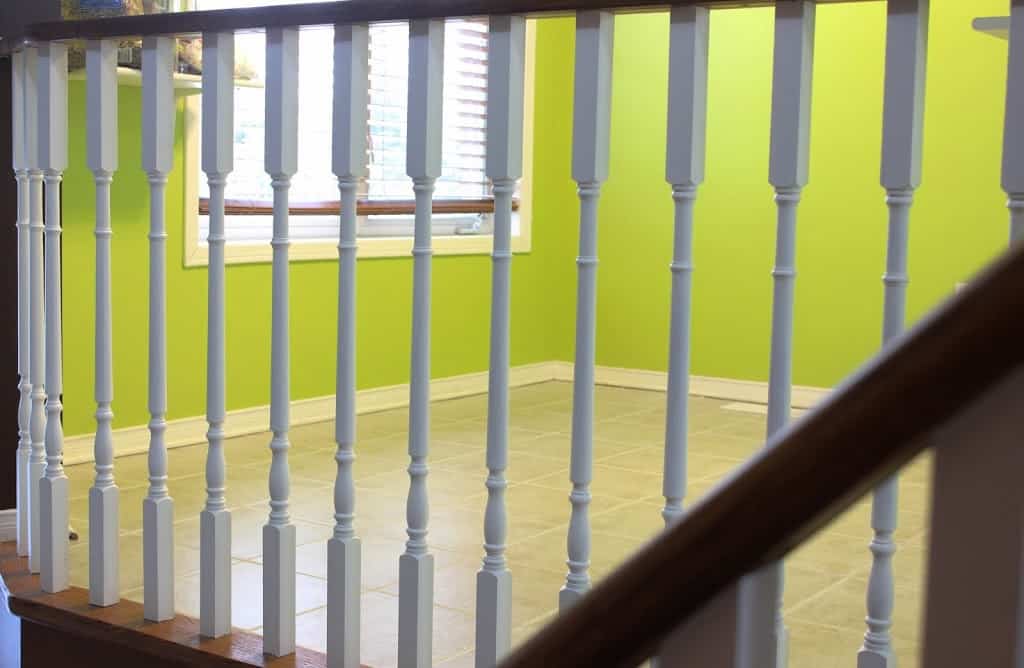
In the end, was it all worth it? Heck yes!! Looking at the before and after pictures, I am amazed at the transformation. We did it all ourselves, which not only saved us a ton of money but allows us the satisfaction of seeing how far we have come in the DIY world. Now we still need to attach a trim piece at the top of each set of stairs but it is hardly noticeable. My second set of stairs still needs caulking and one more coat of paint but otherwise, we are are pretty much completed this project. Now of course, seeing how dark my walls are and how they blend in with my stairs, I am thinking about repainting to a much lighter color. It sucks because I do love the brown on my walls but after 3 years or more, my decor is not working with the color. Oh well, I know some people that change their wall colors every other week! In the future I may put up another post with the before and after pictures of the stairway remodel, including pictures with the new paint color.
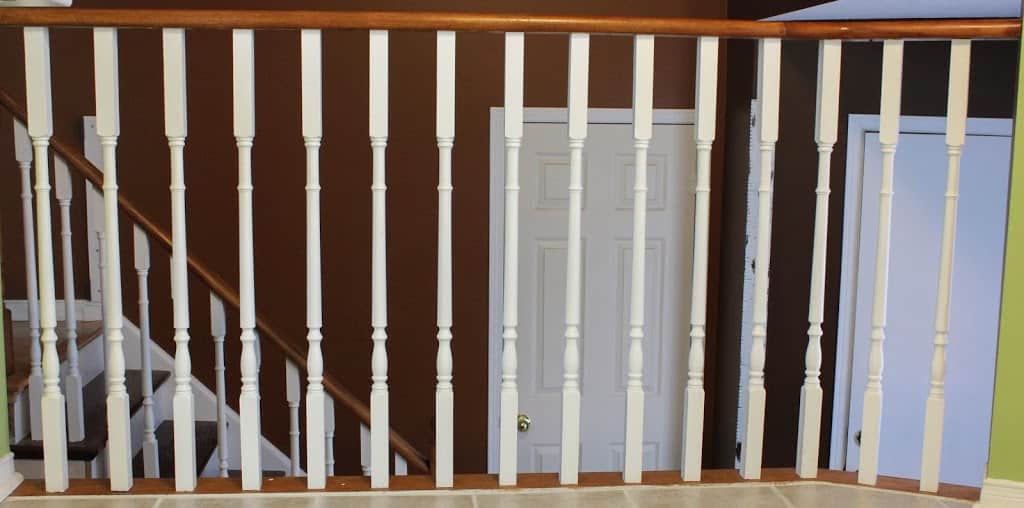
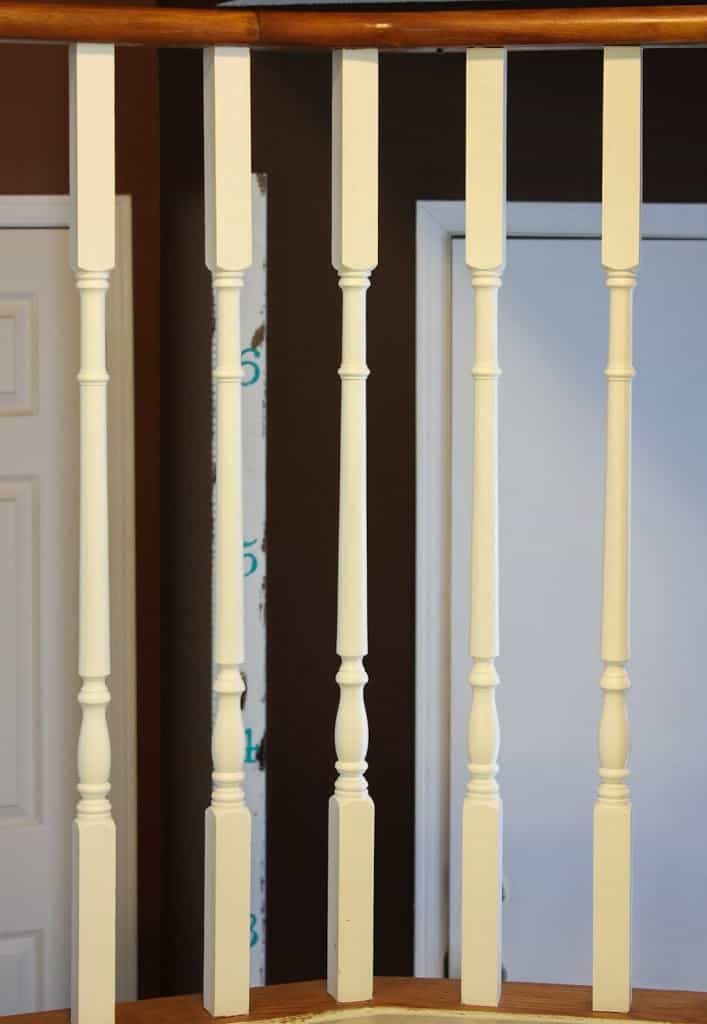
I hope you enjoyed the tutorials! If I skipped anything or if you have any questions, I will be glad to answer. It is a lot of work but a rewarding finish. My biggest concern would be having all the right tools on hand. Local hardware stores around here rent out tools so check them out, it might save you a bundle over buying everything brand new.

Joey
Wow great project. Thanks for writing down so much details. I was wondering why you didn't apply the poly-urethane before installing the treads? I plan to completely finish the treads and risers first in my garage, then only cut and glue them inside the house.
Kacey
Thank you!! To be honest, I never thought of adding the polyurethane before installing... I wish I did!! Over the years my treads have definitely worn (from lack of polyurethane coatings) so I really need to get on top of that. I for sure like your idea better!! 🙂
Leo
Wondering how you resolved the top of the stairs? Tread (one below the top) is fine then the riser on that but then you have the floor on the 2nd level to deal with.
I have carpet (as you did) but plan on removing that from the 2nd floor and putting in engineered hardwood ("EH"). I am concerned how that EH will match up/blend/butt up to the edge of the stairs. Just can't visualize how to resolve the edge of the step going downstairs.