Turn that cute pie pumpkin into something healthy and delicious! I am talking about homemade pumpkin puree (you will notice a difference from the canned variety.)
I am liking the previous theme weeks I have completed (please see Rhubarb Week and Chocolate Chip Cookies Week.) So I decided to hold another theme week!! One a month, or even once every two months doesn't seem too bad to hold a theme week, especially when the holidays are around!
Today marks the first day of Pumpkin Week! All pumpkin recipes, all week long! Great for the pumpkin lovers, not so great for the non-pumpkins lovers (aka, my family.) Nonetheless, I really wanted to try my hand at some pumpkin recipes, so friends will be getting many delicious pumpkin gifts this week.
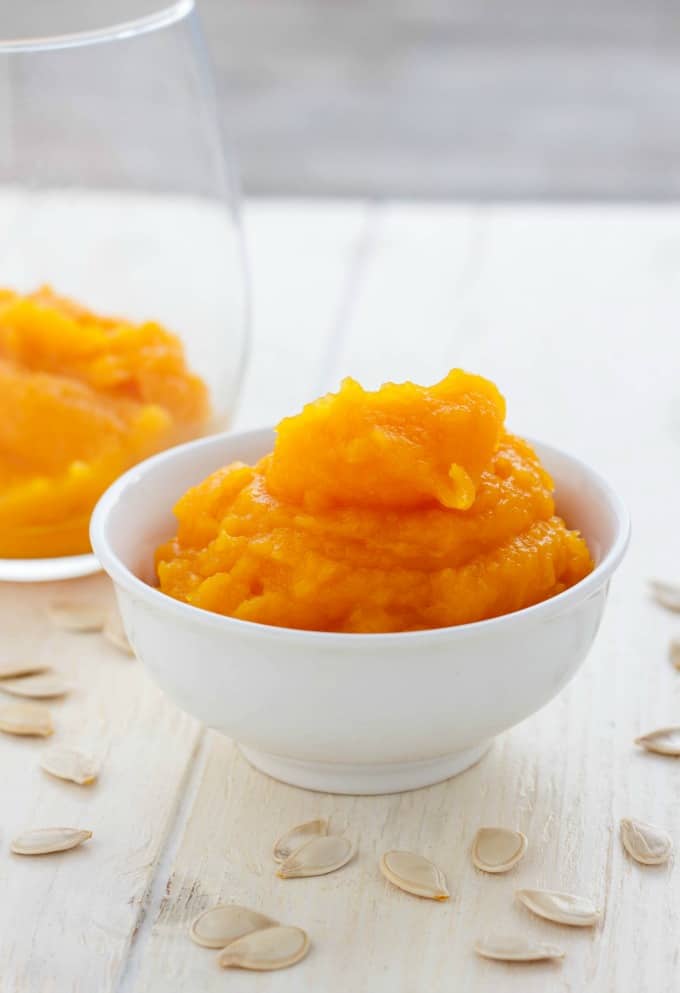
To start off the week, it was only fitting to make homemade pumpkin puree because most pumpkin recipes use this as their base (unless we are talking about a pumpkin flavored recipe, and then we are discussing about homemade pumpkin spice instead,) You can also used canned pumpkin for all the recipes but after making my own for the first time and having so much fun literally peeling a pumpkin of its skin (that sounds pretty creepy!) I think I will always make my own from now on. However, it does make a lot of pumpkin puree depending on the size of your pumpkin, so be warned!
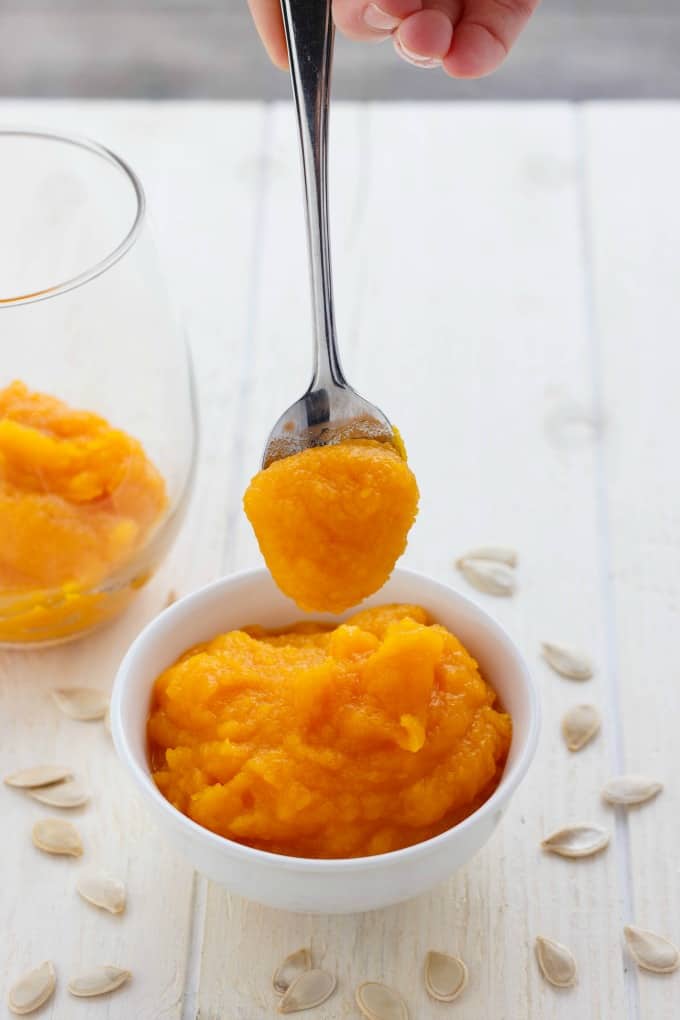
Now, let's begin!
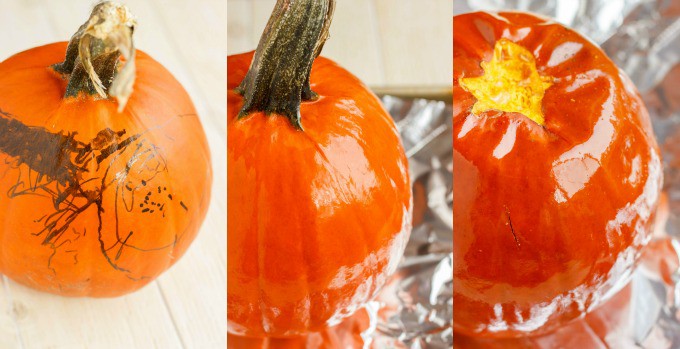
You want a roasting/baking pumpkin, or what is deemed as "pie pumpkins" here in Canadian stores. Not your standard carving pumpkin. Cook time will vary based on the size of your pumpkin. As you can see above, Girlie had the chance to decorate the pumpkin before I put him out of his misery... I hid this fact from her pretty well throughout the process until near the end. Things did not go well at all! No worries with her decorations, I made sure the marker was non-toxic and washable so my very first step to making homemade pumpkin puree was washing the actual pumpkin.
The whole process is fast and easy. Wash, grease, bake, peel, and puree. You can also do this in the slow cooker, but I found this method much quicker. I wanted to hide the evidence that I murdered the pumpkin before kiddo caught onto me! Let me tell you, she was not happy AT ALL when she saw what I had done. I got the whole "I don't want a treat anymore," and "I don't want to eat him." It didn't help that I told her I was going upstairs to make a surprise for her which turned out to be the dismembering of her pumpkin friend... She forgave me soon enough when I made her a pumpkin smoothie that I posted on my Instagram feed.
📖 Recipe

Homemade Pumpkin Puree
This homemade pumpkin puree is great for Thanksgiving and Halloween recipes, but also a great homemade baby food.
Ingredients
- One "pie pumpkin" or roasting pumpkin
- Coconut oil
Instructions
- Preheat oven to 400F. Line a baking sheet with aluminum foil.
- Wash your pumpkin thoroughly and dry. Take 1 or 2 tsp. or coconut oil and rub it all over the pumpkin. If your pumpkin has a huge stem, make sure to cut it down so the pumpkin can fit properly into your oven.
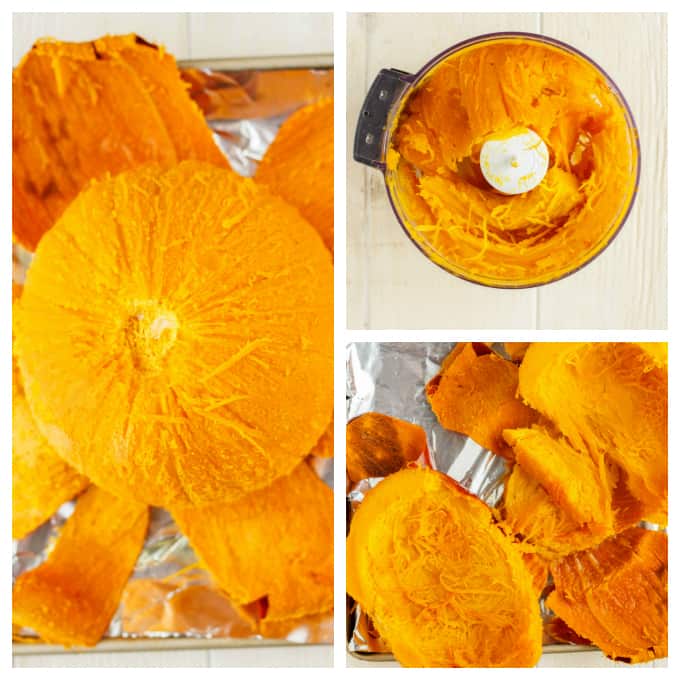
- Place the pumpkin onto the baking sheet and bake for 30 minutes. Try piercing with a fork or knife. If you can pierce through the skin easily, the pumpkin is done. If not, continue cooking in 10 minute intervals. *Mine was finished within the 30-35 minute range (also depends on the size of your pumpkin.) Remove from oven and set aside to cool.
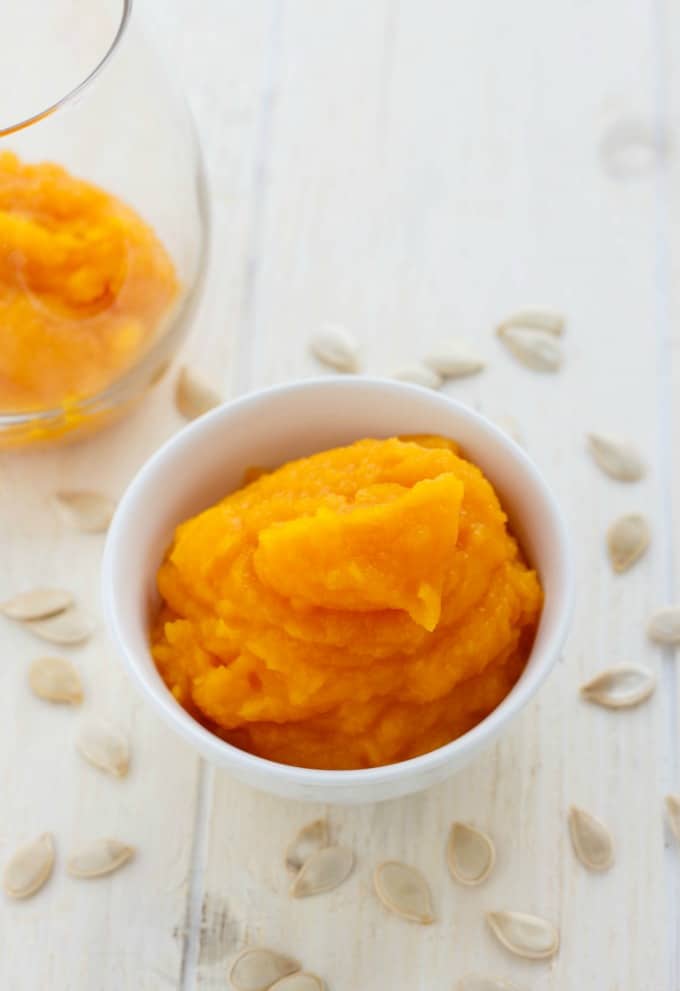
- When it comes time to make the puree, peel the skin back (it is surprisingly easy!) Cut the pumpkin into smaller pieces and stick into a food processor, working in batches. Puree until smooth. You can also puree the skin if you like (however, I skipped it this time to see how strong the pumpkin flavor would be.) Keep pureeing until all the pumpkin is smooth. Move to an airtight container and store in the refrigerator for a couple of weeks.
- DO NOT CAN. I would not have known this unless I came across some tutorials, and it is actually unsafe to can pumpkin!
Nutrition Information:
Yield: 4 Serving Size: 1Amount Per Serving: Calories: 123Total Fat: 7gSaturated Fat: 3gTrans Fat: 0gUnsaturated Fat: 2gCholesterol: 9mgSodium: 80mgCarbohydrates: 15gFiber: 1gSugar: 8gProtein: 2g
Of course, there were some mishaps during this entire process. I burnt my elbow on the oven door trying to fit my pumpkin into the oven. The stem was way too long and wouldn't fit in, and of course I already greased the pumpkin so trying to saw the stem off was proving impossible. I decided to grab out my trusty rolling pin and hammer the stem off the pumpkin! A good couple of whacks and the stem was no more! I felt like a monster, but it had to be done! Try and remember to cut off the stem before greasing your pumpkin, it makes the job much easier.
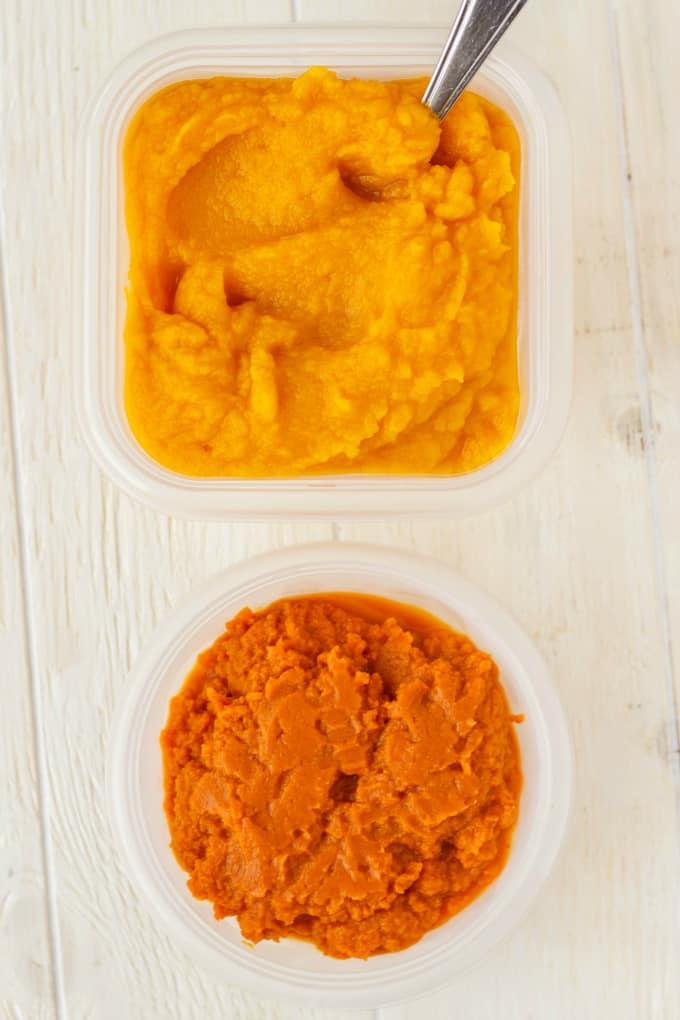
One last fun thought. I pictured below the homemade pumpkin puree next to the canned puree. You can see the difference in color big time! I thought it was unusual that the store-bought was much darker than the homemade pumpkin puree because in my experience of making homemade baby food, the homemade food always held its color better (homemade pea puree had a vibrant green as opposed to the mushy olive green of the store-bought pea puree.) However, I think the store-bought puree probably blends in the pumpkin flesh and skin, whereas I skipped pureeing the skin. Forgoing the skin in this puree is probably best when it comes to homemade baby food. I never thought of giving my daughter pumpkin baby food, but I will be sure to promote it to others now.

Tiffany @ DontWastetheCrumbs
Thanks for a shout out for my tutorial Kacey! You're right about the darker color coming from the skins. I did an A/B test with oven method (no skins) and slow cooker method (with skins) and the slow cooker was near spitting image of canned pumpkin, and even tasted more like it too. Both equally as good though. Enjoy the pumpkin, and the rest of the pumpkin season!!
Kacey
I had a lot of fun making the puree (honestly, peeling the pumpkin was as easy as anything!)