Whenever we think about cakes, we often revert our minds to round pans, typical-sized cupcake pans, and sometimes square pans. They are the basic pans for any kitchen and the design elements are endless! If you only ever owned round pans, you would probably still never run out of cake ideas because it seems like everyday people are coming out with new and amazing projects.
Then there are the pans that you buy for a novelty project, something you think you will use a lot, but end off only pulling it out once a year. Maybe less. I feel this is the case for the Giant Cupcake Pan.
I was lucky enough to pick up my pan at Winners for $10. I am not sure if it is even the Wilton brand, but I know the Wilton ones can cost a lot. The pan hasn't given me any problems, even if it is a no-name brand. My one complaint with the pan though is storage. It is big and clunky and obviously cannot be folded. It sits in my downstairs closet until ready to use, collecting lots of dust!
Okay, enough about the negatives! Well... maybe... My first experience with this pan was when Melissa and I were making a birthday cake for her husband. No instructions came with the pan which is fine, I searched online for the recommended amount of cake batter to use, what temperature to set the oven, and how long to cook it for. It seems to vary but I prefer baking it at 325F for almost an hour (start checking after 45 minutes), while filling the top cavity with 2 ½ cups of batter, and 3 ½ cups of batter into the bottom portion of the tray. I found this worked perfectly, but some complain about the top half of the cupcake cooking faster than the bottom.
Solution? Cook the components separately. It will take longer, but you don't have to worry about over-baking. Or, as someone suggested here, only pour the batter into the bottom part and cook for 10-15 minutes, before pouring the rest of the batter into the cupcake top half. Continue baking as normal and they will finish at the same time. I have had no problems with over-baking from the top half, but this information is good to know just in case.
Unlike the first time using this pan, I opted for a homemade recipe this time around. My usual chocolate cake recipe was slightly modified because I wanted to see if I could reduce the sugar and oil without destroying the flavor and texture. Glad to say, it came out great! However, as usual, the cake made a ton of batter so I had enough leftover to make 12 regular-sized cupcakes. If using boxed cake, 2 packages are necessary.
📖 Recipe
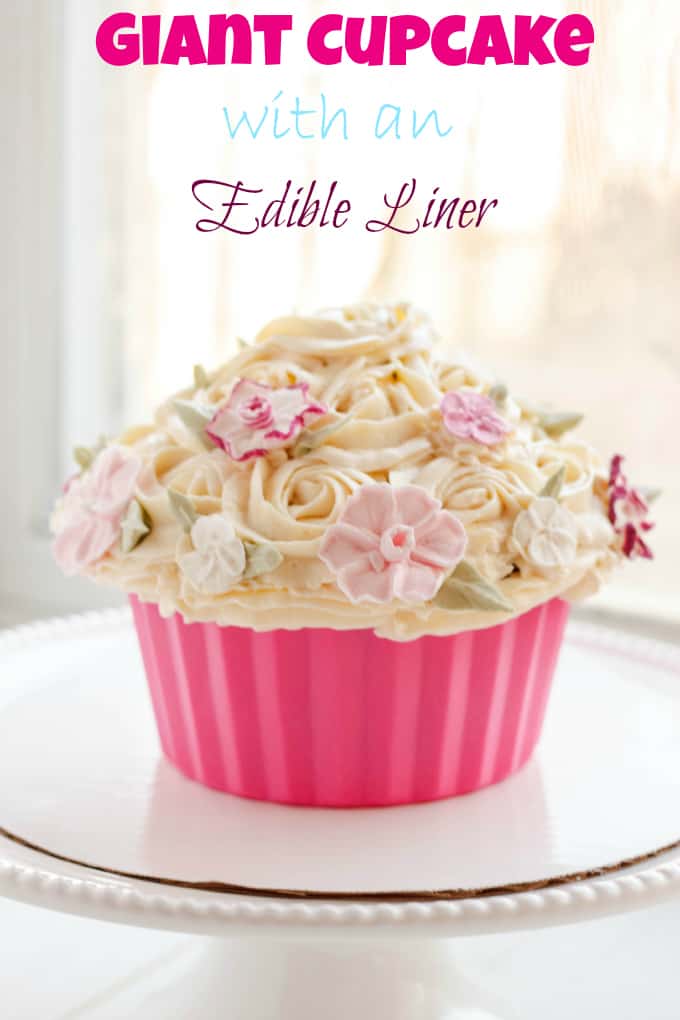
Giant Chocolate Cupcake
A beautiful giant cake made with Wilton's giant cupcake pan.
Ingredients
- 3 cups all-purpose flour
- 2 cups granulated sugar
- 1 tbsp. baking soda
- ¼ tsp. salt
- 1 cup cocoa powder
- 1 cup canola oil
- 1 ½ cups buttermilk
- 3 large eggs, room temperature
- 1 ½ cups hazelnut coffee (1 heaping tsp. instant coffee with 1.5 cups boiling water.)
- 2 tsp. vanilla
Instructions
- Preheat oven to 325F.
- Prepare your cake pan by spreading vegetable shortening lightly all around the inside of both cavities (make sure to get up the sides.) Add a tbsp. or two of flour and rotate the pan until the flour has dispersed all over the shortening, gently tapping out any excess flour. If you see any spots that don't appear to be covered, reapply the vegetable shortening and cover with flour.
- In the bowl of a stand mixer, sift in the flour, baking soda, salt, and cocoa powder. Pour in the sugar. Combine, using the paddle attachment. While the mixer is on low, add in the oil, buttermilk, and eggs (one at a time.)
- Gently, and slowly, pour in the hot coffee. I find when I get about half the coffee in, it starts splattering out of my mixer (even with a Kitchen Aid cover!) Either cover your mixer with a towel/cloth, or stir the rest of the coffee in by hand. The batter appears really liquidity but do not panic! Stir in vanilla until combined.
- Pour 3 ½ cups of batter into the bottom of the cupcake pan and 2 ½ cups of batter into the cupcake top (I hope this makes sense.) You WILL have extra batter. Use the rest to make cupcakes.
- Bake for 45 minutes to1 hour, or until toothpick comes out clean.
- Put hot pan onto cooling rack and allow to cool until you can pick up the pans with your bare hands to flip the cakes out (roughly 20 minutes.)
- When you can flip the cakes out, allow to finish cooling completely on the racks.
- Level off the two layers as you would a traditional cake (make them as flat as possible.) I had a lot of leftover cake so store it in an airtight container and use it to make cake pops.
- Slice the bottom portion in half, horizontally. Spread filling of your choice on top and sandwich the layers back together. I have seen people cut the bottom layer twice for more depth, it is up to you. I did not touch the top half of the cupcake.
- If you are going to decorate with a candy melt liner, place the bottom half of the cupcake into the liner gently. Spread some buttercream on top and then place the other half of the cupcake on top. Continue to decorate as usual.
- If you do not plan to use the candy melt liner, you can assemble as usual before decorating. I just mention doing the previous assembly so as to not to break the candy liner.
Nutrition Information:
Yield: 12 Serving Size: 1Amount Per Serving: Calories: 463Total Fat: 21gSaturated Fat: 2gTrans Fat: 0gUnsaturated Fat: 18gCholesterol: 48mgSodium: 441mgCarbohydrates: 63gFiber: 2gSugar: 35gProtein: 7g
Candy melt liner? What are you talking about?! Don't worry, I will have a tutorial up to show you exactly what I mean! Tutorial is now up!
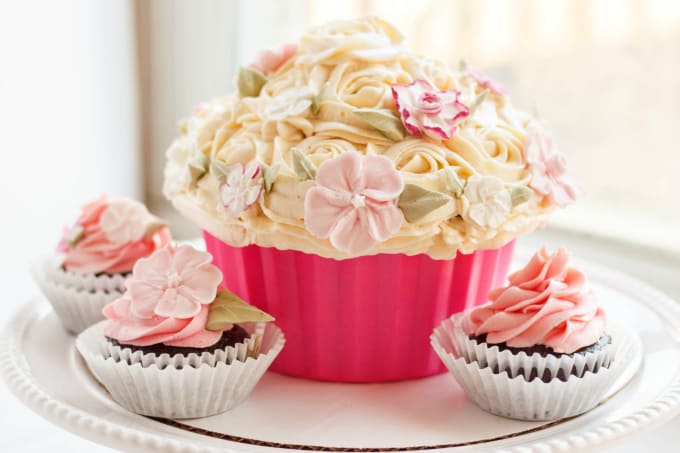
I had a lot of fun decorating this cake, but it is definitely a novelty pan in my books. If you can pick it up cheap like I did, it is neat to have. Going back to my first experience with this pan, we had no clue how to decorate the thing. You could get the bottom liner part smooth with buttercream, but it doesn't appear to look right. I don't know how to explain it. When I stumbled across the candy melt liner on Pinterest, I knew I had to give this pan another go! I am sure fondant would work just as well, but I don't find myself working with fondant... ever.
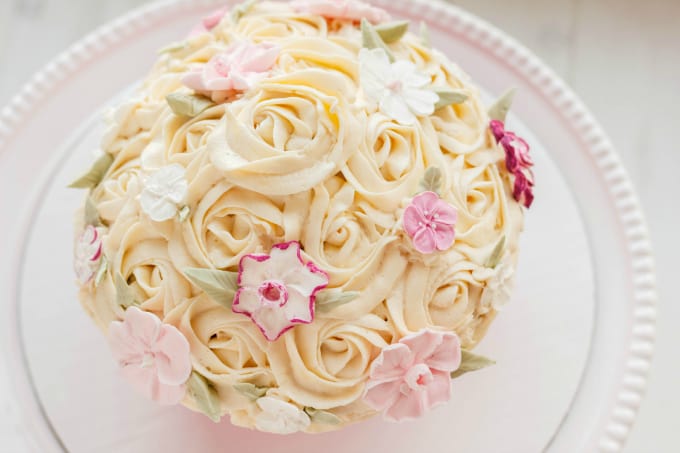
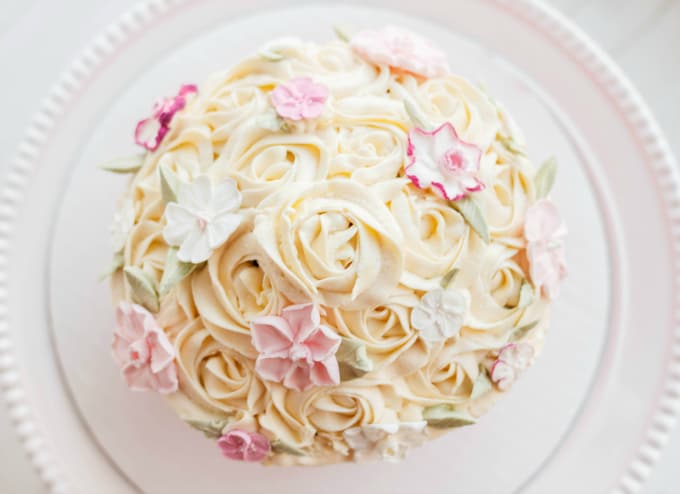
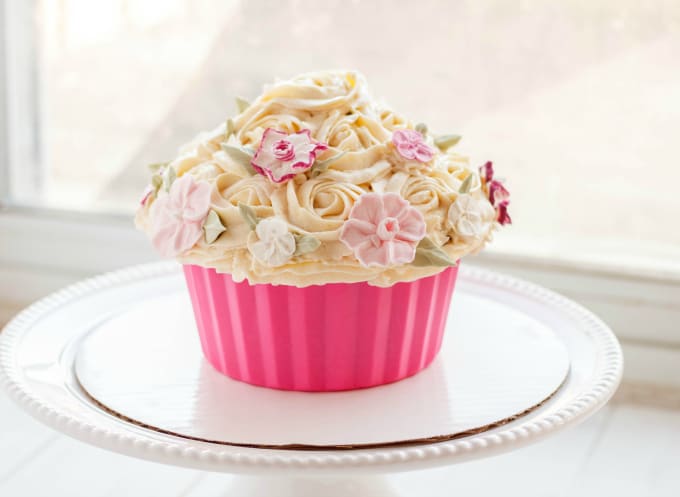
As for the cake design itself, the top is covered in vanilla buttercream and decorated with royal icing flowers. I used up a lot of my buttercream to decorate the smaller cupcakes first, so I had to be sparse on this cake (which is why it does not look as full as I would like it.) All in all, I really love how it turned out! I am curious to how they cut the cake though.

Leticia
I am quite interested in becoming a food blogger myself and after reading your story I just might take the leap myself. You have a very interesting blog..
Dave
Hi Kacey, your blog is great! I especially liked this post and the assist it gave me when I needed to make some giant cupcakes last month. I meant to comment sooner but am just getting to it now. Thanks!
Here's the write up I didtoo after making my cupcakes.
Kacey
Your cupcake (and little cupcakes) look great! I tried commenting on your post but for some reason wordpress is giving me a hard time.
Vicki McIntosh
This tutorial on Giant Cupcake Liners was great for me. They don't have to many tutorials on the pan cupcake liner. I'm starting a cupcake business and this was great! Thank you and I will let you know how it comes out!
Kacey
Thanks so much! If I could ever open my own bakery, I would definitely sell these bad boys (the liners really make them stand out!)